Recovering data from a WD My Passport drive might seem challenging, but with the right instructions, it’s entirely achievable. This guide is here to help you through each step of the process. You’ll find that with a clear approach and the proper tools, retrieving your lost files from a WD Passport can be simpler than expected, often eliminating the need for professional help.
What is WD My Passport?
My Passport is a series of external hard drives manufactured by Western Digital, commonly known as WD. These hard drives are an ideal choice for everyday users. Many rely on WD as backup drives to store important data such as photos, videos, projects, and documents.
Is It Possible to Recover Data from WD My Passport?
Yes, it is possible to recover data from a WD My Passport (and other versions, like WD My Passport Ultra) in a variety of scenarios. Whether dealing with logical errors like accidental deletion on a healthy drive or addressing light damage with bad sectors, hard drive recovery tools like Disk Drill can be effective. However, for drives with significant physical damage, professional data recovery services are typically the best option for Western Digital My Passport recovery.
We’ve looked into the most common reasons why users have faced data loss issues with WD My Passport drives. We’ve provided some shortcuts to the solutions that best suit these problems in the table below.
| Scenario | Solution |
| Accidentally deleted files or folders | Recover Deleted Files from a Healthy Western Digital Drive |
| Formatted drive or intentionally erased data | Recover Deleted Files from a Healthy Western Digital Drive |
| Drive is recognized by your computer but doesn’t appear in File Explorer | Data Recovery from a Lightly Damaged WD Drive |
| Drive isn’t detected at all (your PC can’t read or recognize the WD My Passport) | Recovery from a WD Drive with Substantial Physical Damage |
Recover Deleted Files from a Healthy Western Digital Drive
Data loss can occur in various scenarios, such as accidental deletion or drive formatting, where the drive itself shows no signs of physical damage. In these cases, the data is often still recoverable because the loss is due to logical errors rather than physical issues with the drive. Data recovery can be performed with WD My Passport recovery software, of which, we’ll show you two options.
WD External Hard Drive Recovery with Disk Drill
When dealing with external hard drives like a WD My Passport, Disk Drill is our go-to option. As Disk Drill supports all relevant file systems (NTFS, HFS+, exFAT, and ext3/ext4), we can take advantage of its ability to locate data using file system records. It can also recover data from a WD external hard disk which is not detecting, making it an excellent choice when dealing with logical corruption.
These steps demonstrate how to recover data from a WD My Passport external hard drive using Disk Drill:
- Download and install Disk Drill on your Windows or Mac.
- Connect the WD Passport external hard drive to your computer using a USB cable.
- Click on the Search For Lost Data button in the right-hand corner to initiate the scanning process. Disk Drill will check your external hard drive for recoverable data. The scanning process might take some time, depending on factors like the drive size, connection type, and data fragmentation.

- After completing the scan, click the Review found items button.

- Preview and select the files you want to recover and then click the Recover button.

- Select the destination folder where you would like to save your recovered files.


These steps demonstrated how to use Disk Drill on Windows, but the process is the same if you need to retrieve files from a WD Passport on a Mac system.
Restore Files from a WD Drive using Recuva
Recuva is an alternative tool you can use for recovering deleted files from a WD My Passport drive. While it’s a free option, it does have certain limitations, making it suitable for specific recovery scenarios.
Here’s how to restore files from a WD My Passport using Recuva, the free data recovery software for WD My Passport drives:
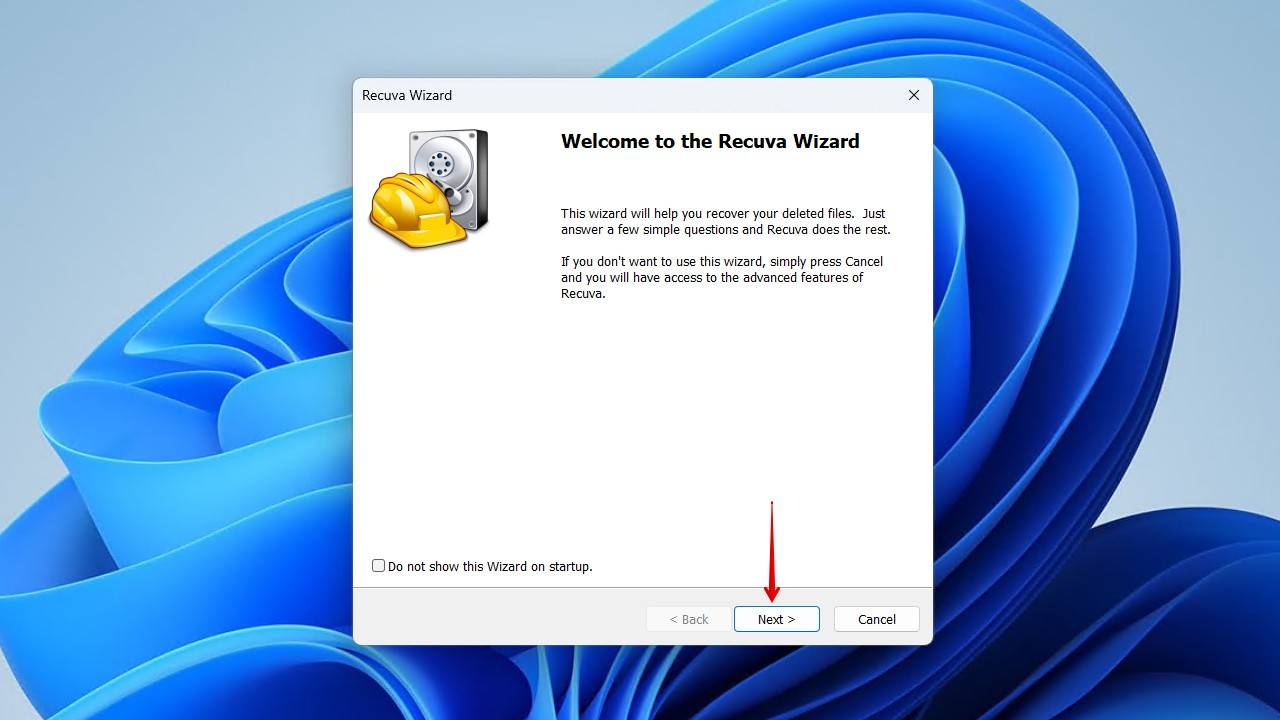
- Download and open Recuva.
- Click Next.
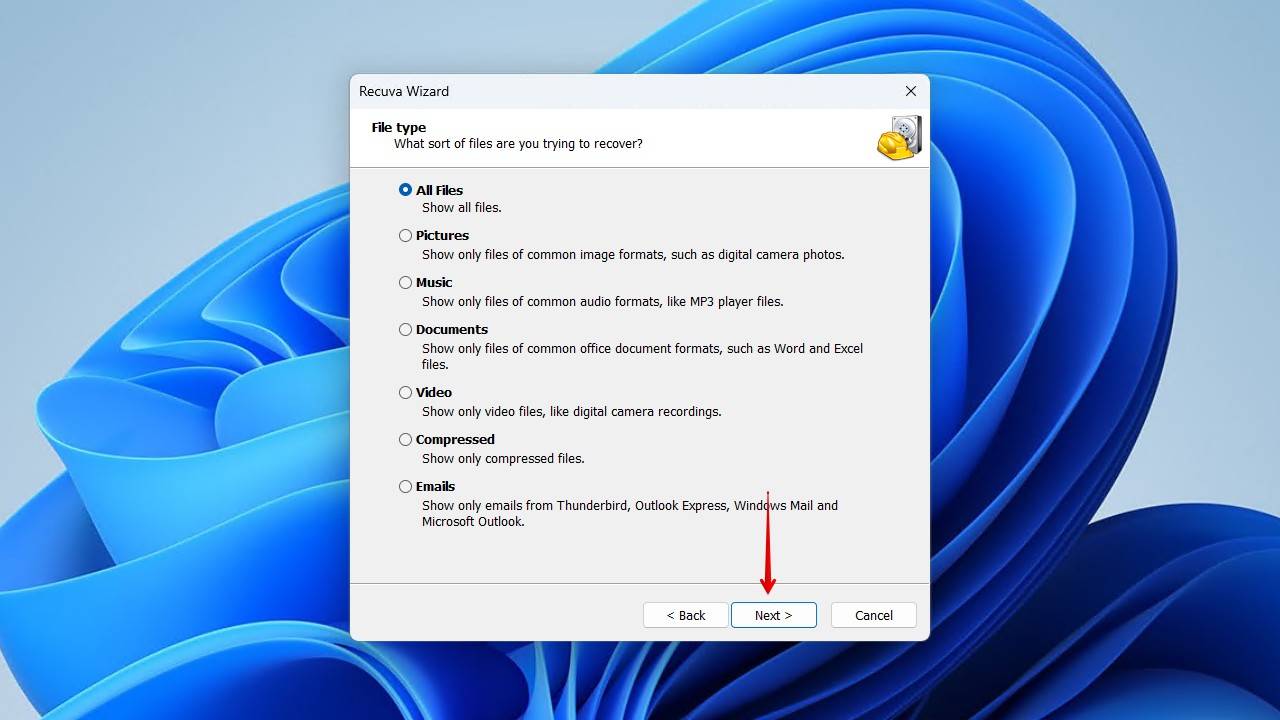
- Keep All Files selected and click Next.
- Keep the I’m not sure option selected and click Next.

- Click Start. You also have the option to run a Deep Scan, but you can choose to do this if the regular scan doesn’t yield the results you expected.

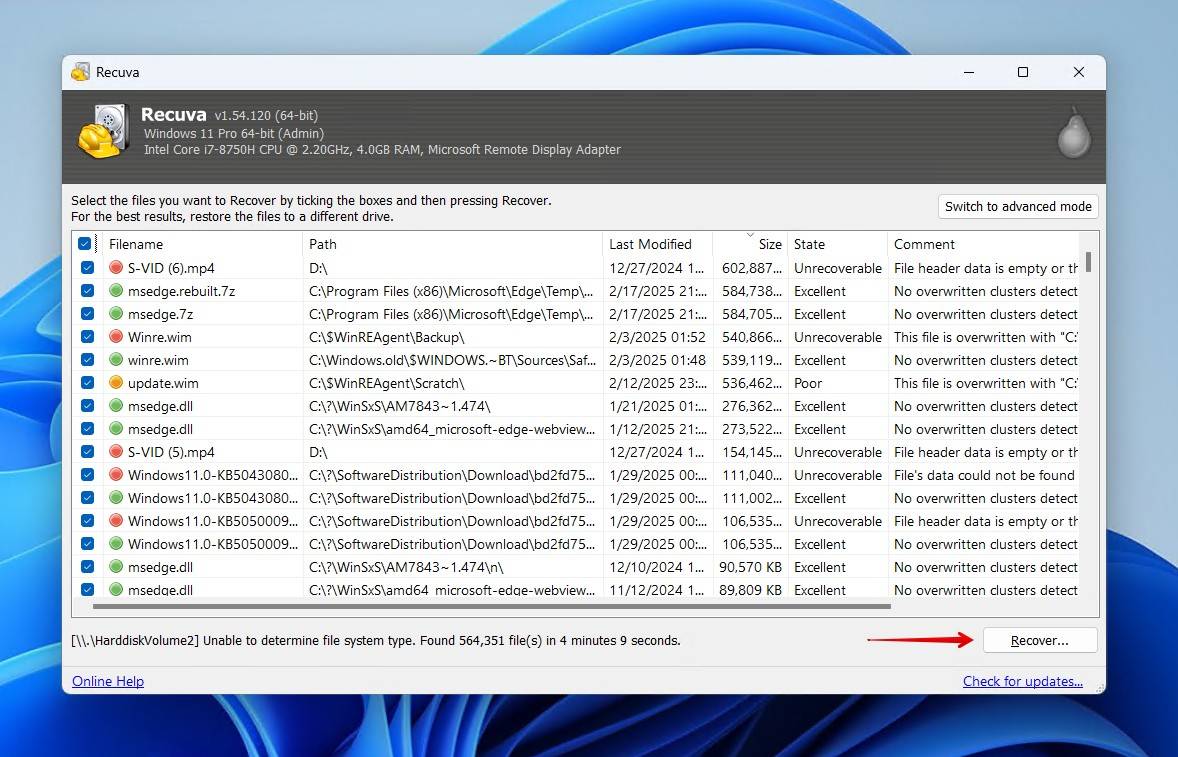
- Select the files you want to recover, then click Recover.
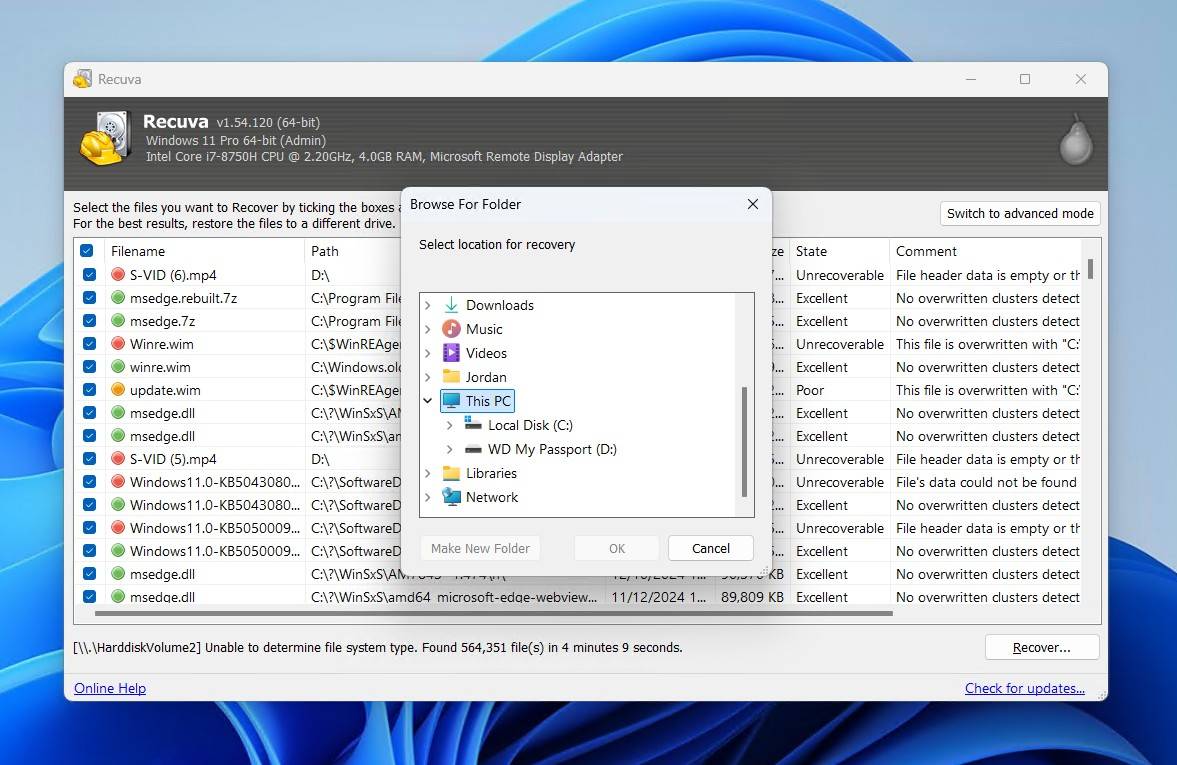
- Choose a recovery location on a separate physical drive, then click OK.
Data Recovery from a Lightly Damaged WD Drive
A Western Digital drive might exhibit signs of light damage, like a corrupted file system that’s now causing the partition to show as RAW, unallocated disk space that was previously usable, and constant requests from Windows to format the drive. These symptoms suggest the drive is still operational but may be heading towards failure, making WD My Passport data recoverya sensitive task.
The added stress of scanning a drive directly can be the tipping point that causes complete failure. Instead, you should create a byte-to-byte image and scan that instead. A byte-to-byte copy is a complete copy of your disk structure saved to a file. This allows you to recover everything from the image rather than putting additional stress on the disk.
WD Hard Drive Recovery Process
This process is only viable if the WD My Passport drive is both (1) visible in Disk Management, and (2) reading the correct capacity. Otherwise, you should consult a data recovery professional.
- Open Disk Drill and click Byte-to-byte Backup.

- Select your WD My Passport drive, then click Byte-to-byte Backup.

- Give the backup a name and choose where to save it.

- In Disk Drill, attach the disk image you created as the source for recovery.

- Click on “Search for lost data” to scan the disk image for recoverable files. The duration of this scan depends on the size of the disk image.

- Review and Recover files by checking their integrity, then save the necessary ones to a secure location.

Recovery from a WD Drive with Substantial Physical Damage
In more extreme instances, drives can endure significant physical damage from factors like mechanical failure or external impacts. Data recovery software is of no use here, and instead, you should consult a data recovery service. It’s not always easy to know when you should though. Here are three simple diagnostic steps you can take to determine if you should reach out to a recovery professional:
- The disk is still undetected after you’ve changed the cables, tried a different port, and connected it to another computer.
- The drive isn’t visible in Disk Management or Device Manager, or it’s showing in Disk Management but with the wrong capacity.
- There are visible signs of physical damage or you can hear unusual noises coming from the drive when it’s powered on, like clicking or scraping.
While costly, using a data recovery service yields the best results. Rather than simply offering Western Digital My Passport repair services, these recovery centers focus on getting the data off the problematic drive and returning it to you on a healthy storage device. If you’re dealing with a damaged WD drive that has shown one of the three above symptoms, consider checking out the Clever Files Data Recovery Center.
Conclusion
The methods mentioned above work well for various WD My Passport Recovery scenarios. However, adopting a prevention-oriented mindset is always better than finding the cure. Thus, paying attention to a few straightforward guidelines will help safeguard your data from being lost or erased in the future. Take some notes from other WD drive owners who have been in similar situations.
- 🔌 Use the correct cables – Using the cables that came with your WD external hard drive, or ones of a similar spec, is essential to ensure you receive consistent performance. Unsuitable cables can cause the drive to act erratically, as seen in this Reddit thread.
- ⏏️ Treat the drive with care – It goes without saying that you should always treat your external hard drive as the delicate storage device it is. However, this also means taking the right steps when disconnecting it. When removing an external drive, always be sure to eject it safely. As some users have shared on Reddit, the WD drive can become corrupted otherwise.
- 🔍 Study forums for known issues – Be sure to Google the symptoms you’re experiencing, as there’s a chance that other users with the same exact drive are experiencing the same issue. It is indeed possible that manufacturers have released a defective batch of devices, resulting in the same problem appearing for many people, as could be argued here.
- 🙅♂️ Don’t run CHKDSK – CHKDSK is designed to fix file system-related problems, but the way it goes about fixing those problems can be detrimental to your data. As stated in this thread, CHKDSK heavily interacts with your data during its operations, which is a big no-no when it comes to data recovery as it can cause the data to become unrecoverable.
- 🗃️ Use a compatible file system – The file system used by your WD drive may not be compatible with the operating system. For instance, a Mac won’t be able to read an NTFS drive. This user, for example, found this out when their WD Passport formatted on their Mac doesn’t work on their Dell.


FAQ
Western Digital doesn’t offer data recovery services directly. Instead, it’s partnered with Ontrack Data Recovery. However, WD owners can only take advantage of this partnership if they purchase a data recovery plan with their drive and it’s within the 3-year period to redeem.
Here’s how to recover deleted files from your WD:
- Download, install & launch Disk Drill
- Connect your WD to a PC
- Click on storage media & click on Search for Lost Data
- Find your files and select them
- Click on Recover
Connect the WD My Passport to your new computer. Navigate to My Computer and choose the external hard drive’s folder. Just drag and drop your files into the folder, or copy and paste them to transfer My Passport to your new computer.
Disk Drill permits you to recover 500 MB of data for free:
- Download, install & launch Disk Drill
- Connect the WD drive to your PC
- Click on your WD disk & click on Search for Lost Data
- Find your deleted files and select them
- Click on Recover
Here’s a list of tips to fix a corrupted WD hard drive:
- Try executing the CHKDSK command on CMD
- Assign a new drive letter from Disk Management
- Use the Windows Repair Tool to check & fix errors
- Reinstall your WD driver from Drive Manager