Among the most aggravating features of Windows 10 are its automatic updates, which are notorious for disrupting both productivity and relaxation at the least opportune moments. What’s worse, an automatic update can even cause your system to move to new versions of Windows, leading to hardware/software compatibility issues and undesirable UI changes. No wonder then that so many users want to know how to disable Windows 10 updates, and that’s exactly what this article explains.
Why You Can’t Easily and Permanently Disable Windows 10 Updates
Windows has long struggled with security challenges. As writer and technology analyst Steven Vaughan-Nichols notes in his ZDNet article: “Windows has been insecure since 1985’s Windows 1.0, really an MS-DOS extension, rolled out the door.” This reputation for security vulnerabilities has plagued Microsoft for decades, prompting the company to take increasingly aggressive measures to protect its users.
Microsoft is acutely aware of these security challenges and has implemented numerous changes to make Windows less vulnerable, and automatic updates represent one of its most important security measures.
Because automatic updates play such a key role in maintaining Windows security – and because many users would likely choose convenience over security if given the option – Microsoft has deliberately made it difficult to permanently disable them. Sure, you could disconnect your computer from the internet, but who would do that these days?
Your best options, therefore, are various workarounds that are not always easy to implement and are never guaranteed to be permanent.
How to Turn Off Windows 10 Updates
The workarounds available to turn off Windows 10 updates range from third-party apps that do the work for you to manual configuration changes, and we provide easy-to-following instructions on how to implement them in the next sections of this article.
Option 1: Disable the Windows Update Service
Windows Update is essentially just another Windows Service and can be turned off in a similar manner to other services.
The only problem with this method is that Microsoft has built-in mechanisms that may re-enable the update service automatically, such as a daily system maintenance task, so don’t count on the Update service staying disabled forever.
Follow these steps to stop Windows 10 updates:
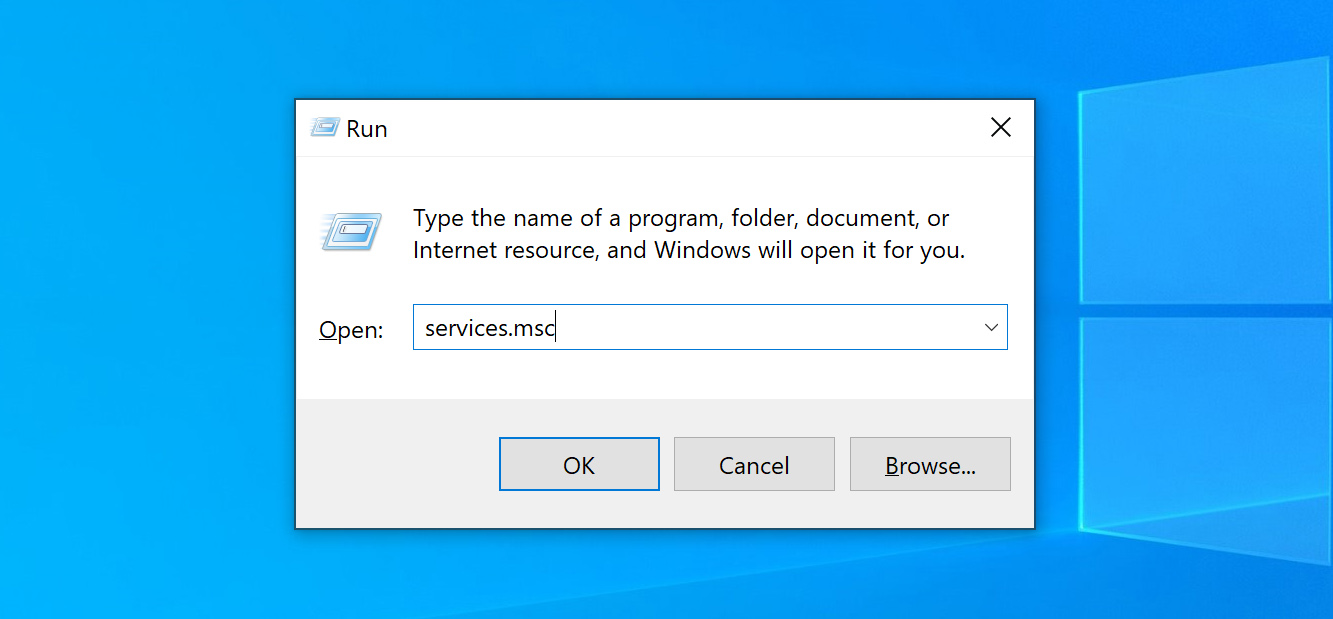
- Fire up the Run command (Win + R). Type in “services.msc” and hit Enter.
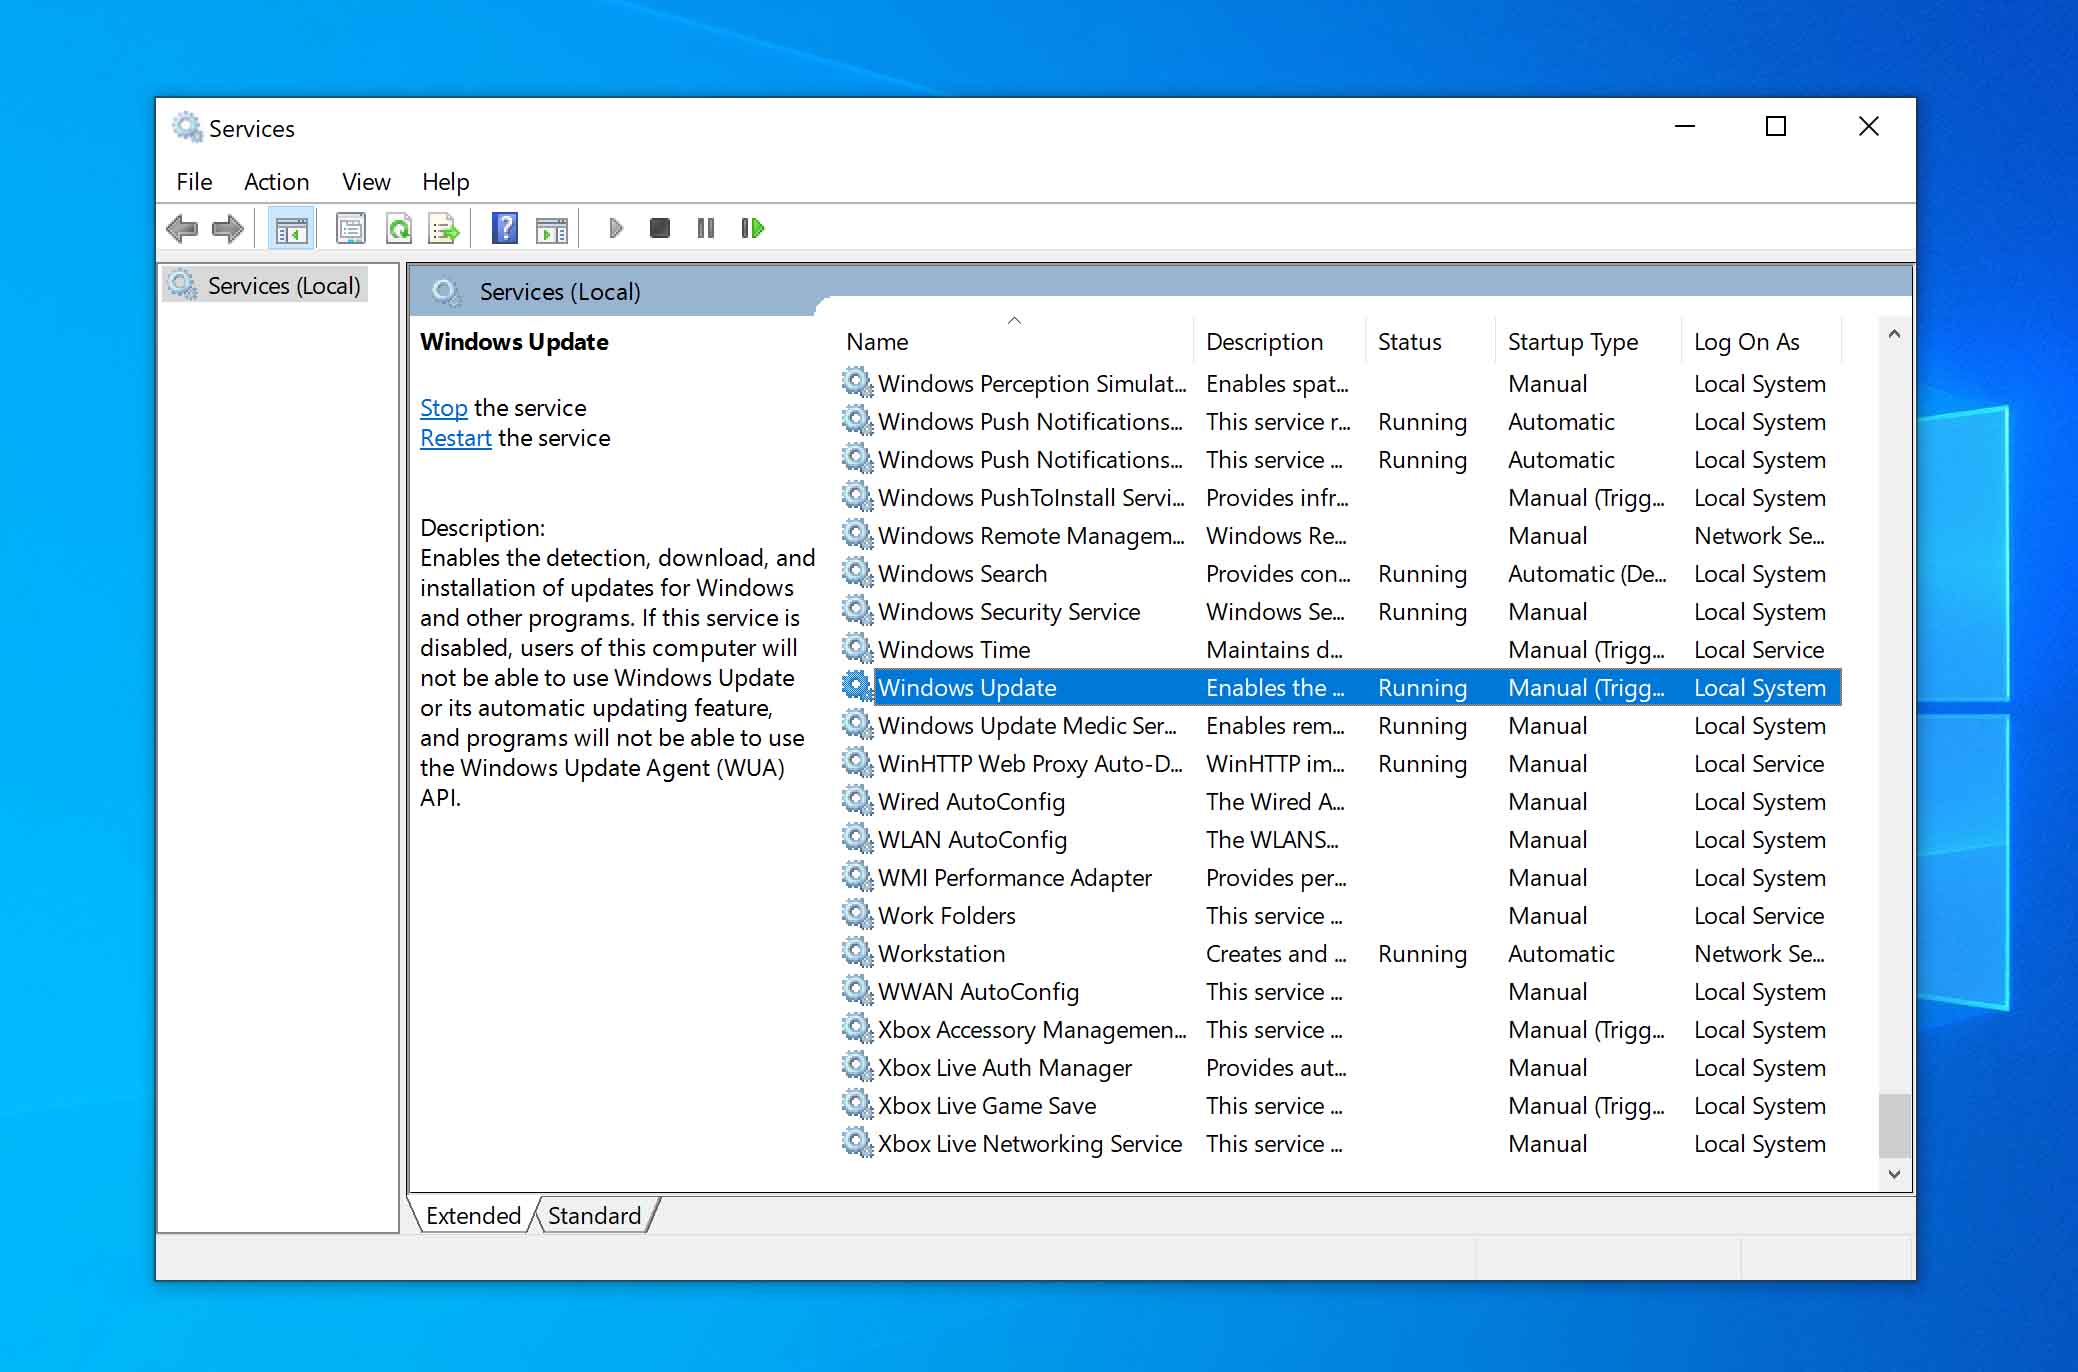
- Select the Windows Update service from the Services list.
- Click on the “General” tab and change the “Startup Type” to “Disabled”.
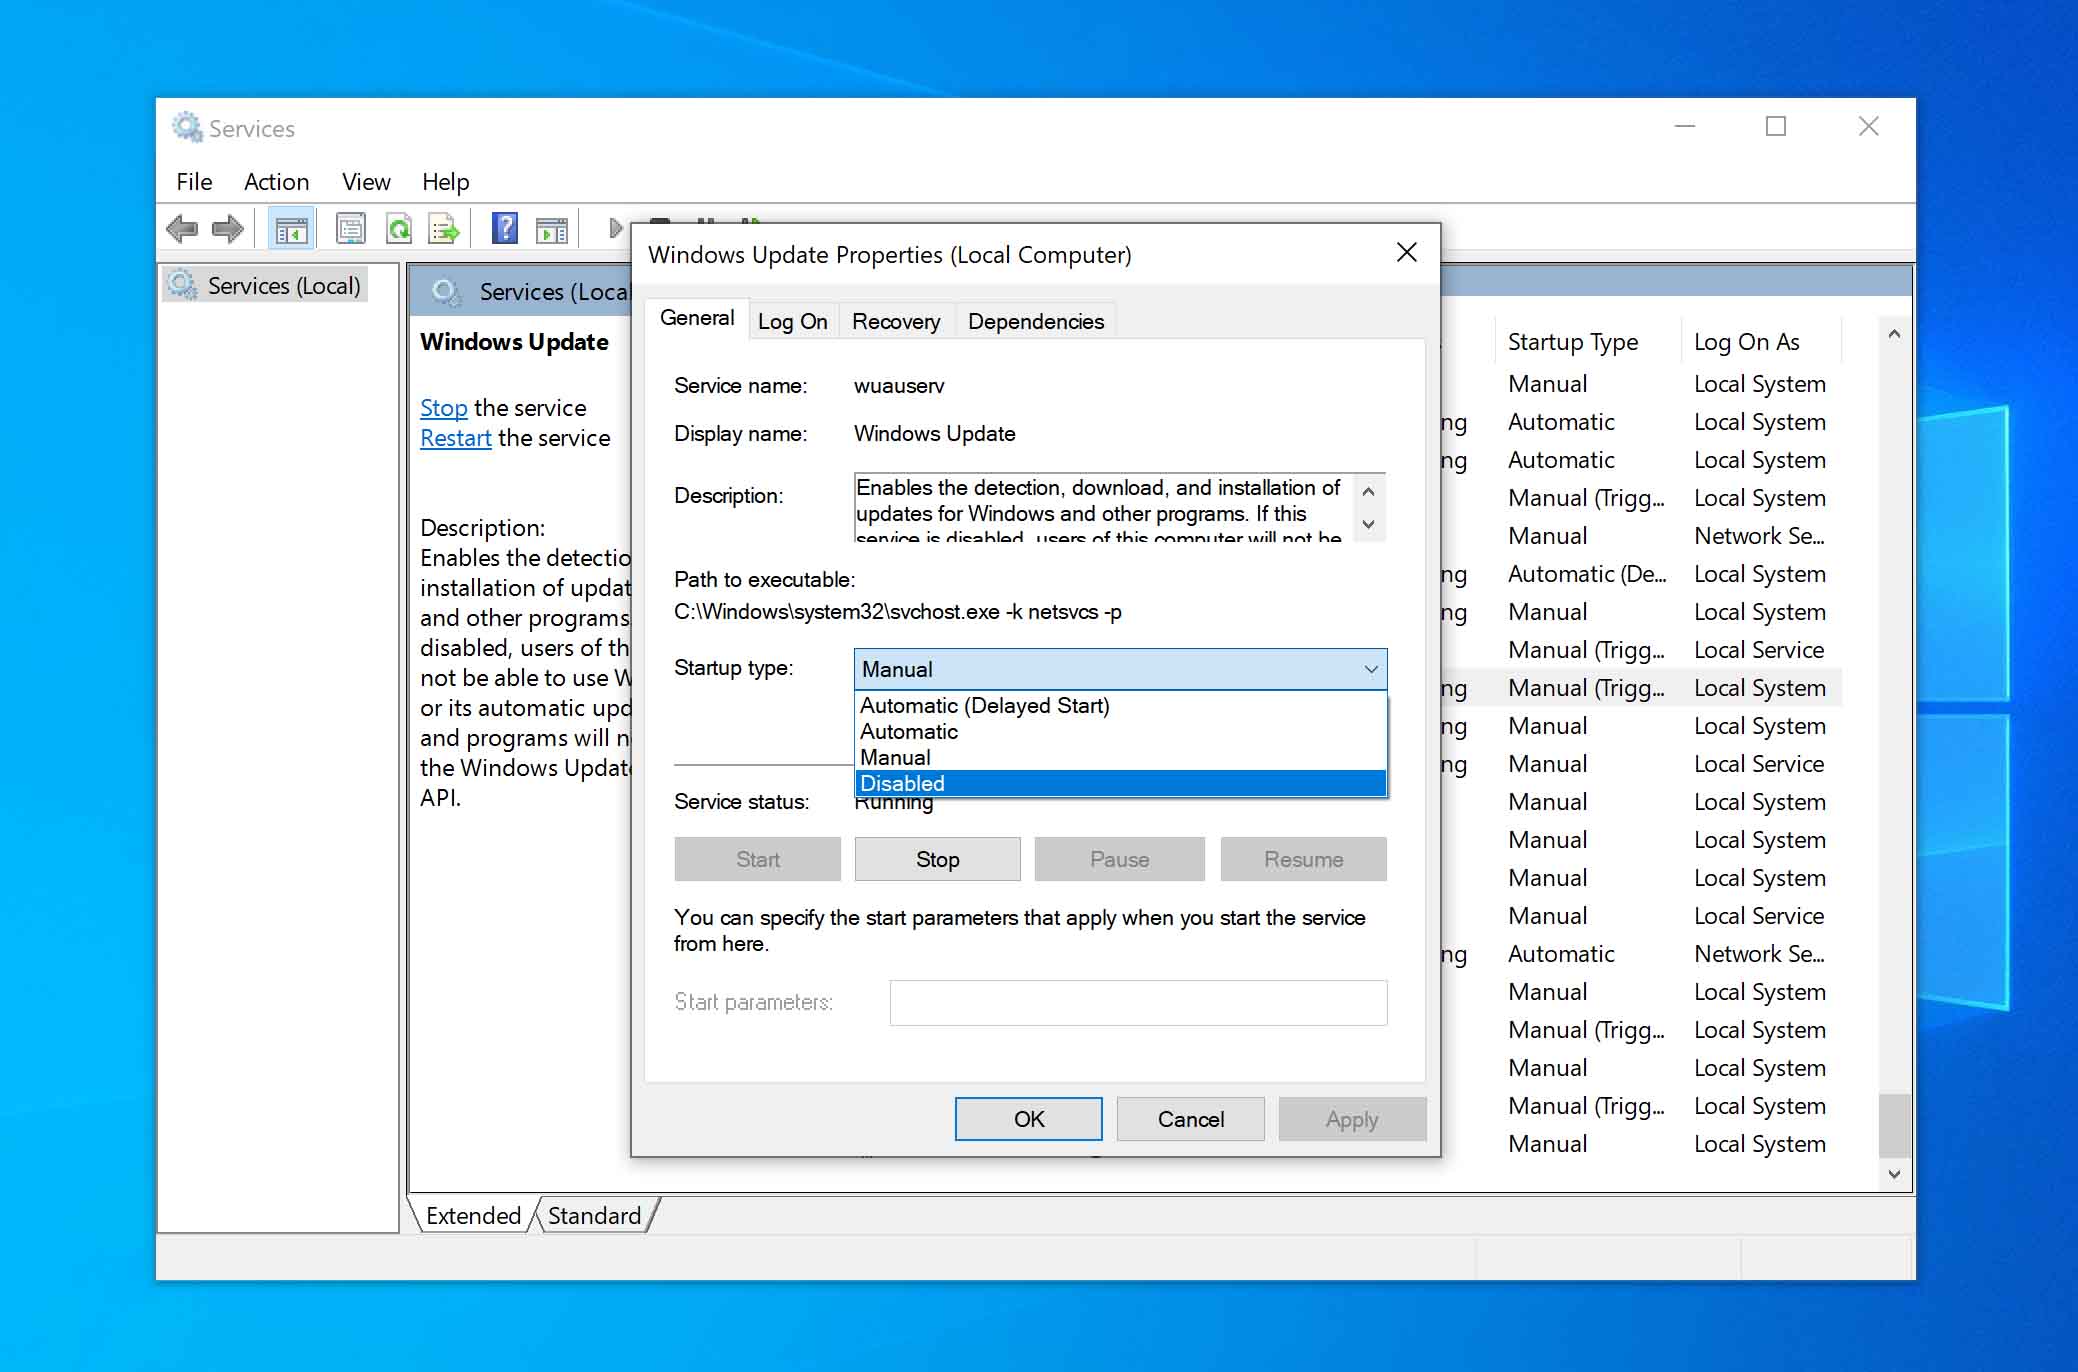
- Restart your machine.
Option 2: Disable Updates Using a Software Tool
Because of the widespread desire to disable Windows 10 updates and the limitations of native settings, independent developers have created specialized tools to automate and simplify the process.
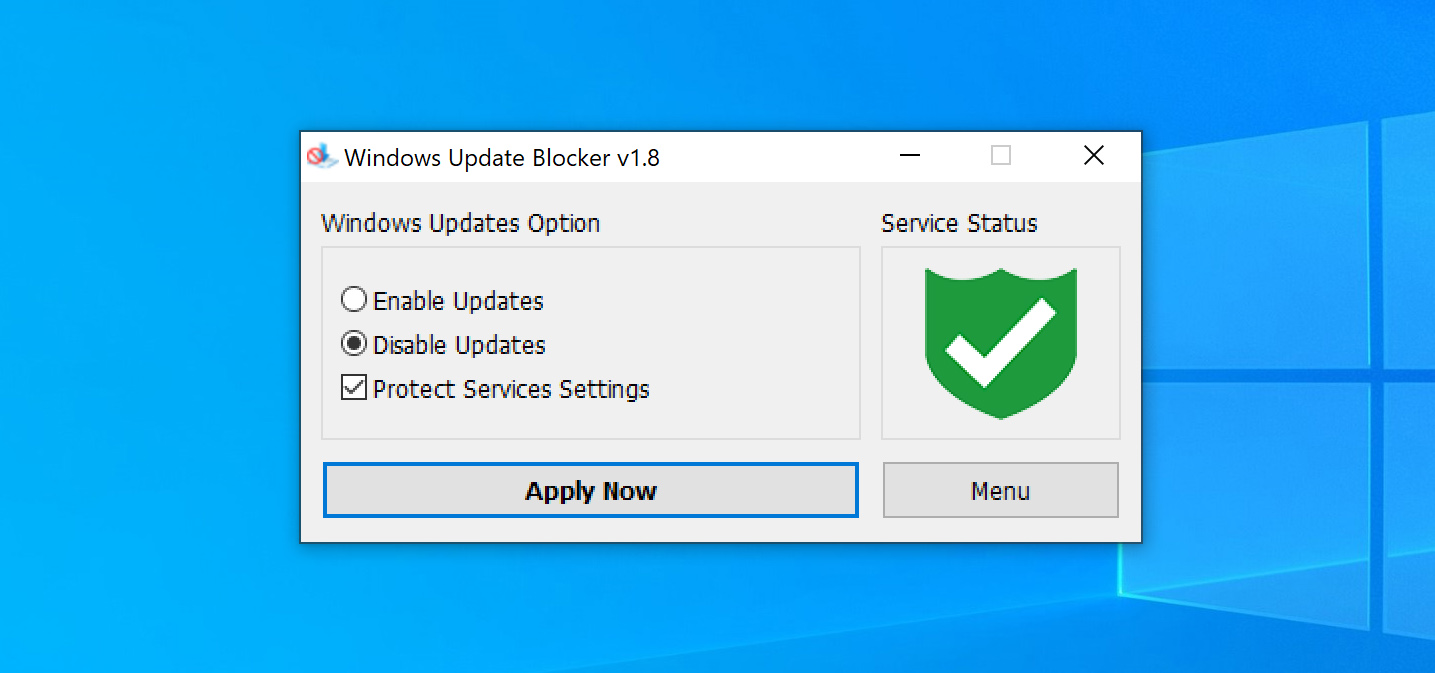
One widely recommended solution is the Windows Update Blocker developed by the Sordum Team. The tool provides a straightforward graphical interface that lets you disable or enable the Windows Update service with a single click, and it can even stop Windows from automatically re-enabling updates.
Another great option is the Windows Update Disabler script by tsgrgo. The open-source script disables not just the main Windows Update service but also related components like the Update Orchestrator Service and Windows Update Medic Service. It also handles update-related scheduled tasks and applies necessary registry changes to prevent updates from kicking in again. When you need to update your system manually, a companion script can temporarily re-enable the necessary services.
Option 3: Set Up a Metered Connection
If you are using WiFi to connect your Windows 10 machine to the Internet, you have the option of setting up a metered connection. In a metered connection, bandwidth is conserved by only automatically downloading and installing priority updates.
Microsoft’s method of classification may remain a mystery, but driver and software feature updates that may cause stability problems are minimized by opting for this option for stopping Windows 10 automatic updates.
To disable Windows 10 updates:
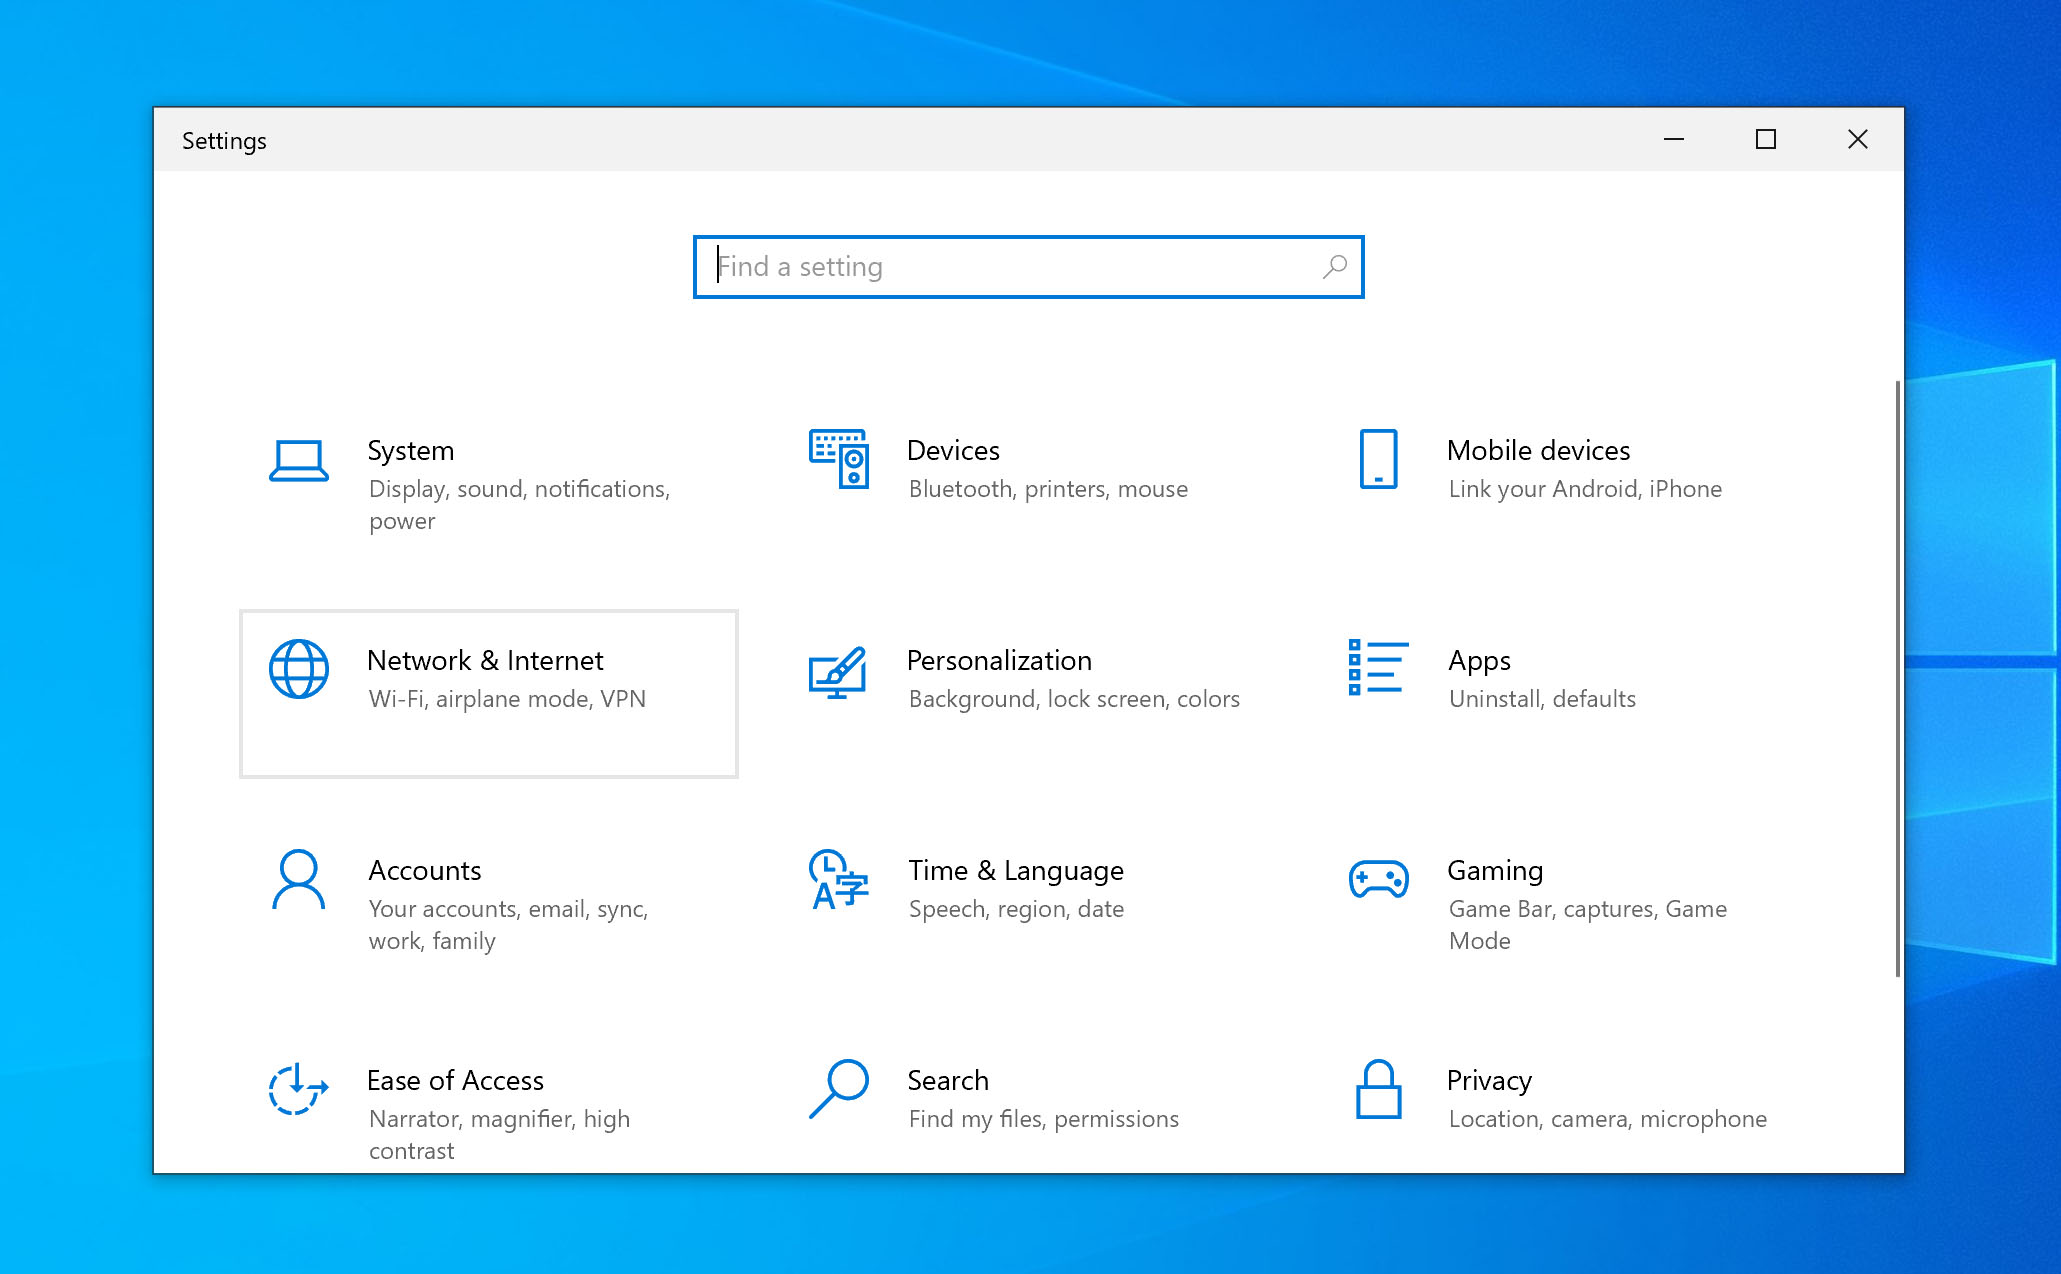
- Open the Windows Settings application (Win + I).
- Click on the ‘Network & Internet’ section.
- Open ‘Wi-Fi’ and click the ‘Manage known networks’.
- Select network and in ‘Properties‘ toggle the ‘Set as metered connection’ option to ‘On’.
Option 4: Group Policy Editor
You can make changes to the Group Policy Editor if you are using Windows 10 Education, Pro or Enterprise editions. Users of Windows 10 Home Edition are out of luck regarding this way of disabling Windows 10 updates.
If you opt for this solution, security updates will still be installed automatically. For all other updates, you will be notified that they are available and can install them at your convenience. This is the way Windows update worked in the past. Today, Microsoft wants to eliminate the need for novice users to engage in updates, but it has enforced this at the cost of flexibility for more experienced users.
Here’s how to update your Group Policy Editor to prevent automatic Windows 10 updates:
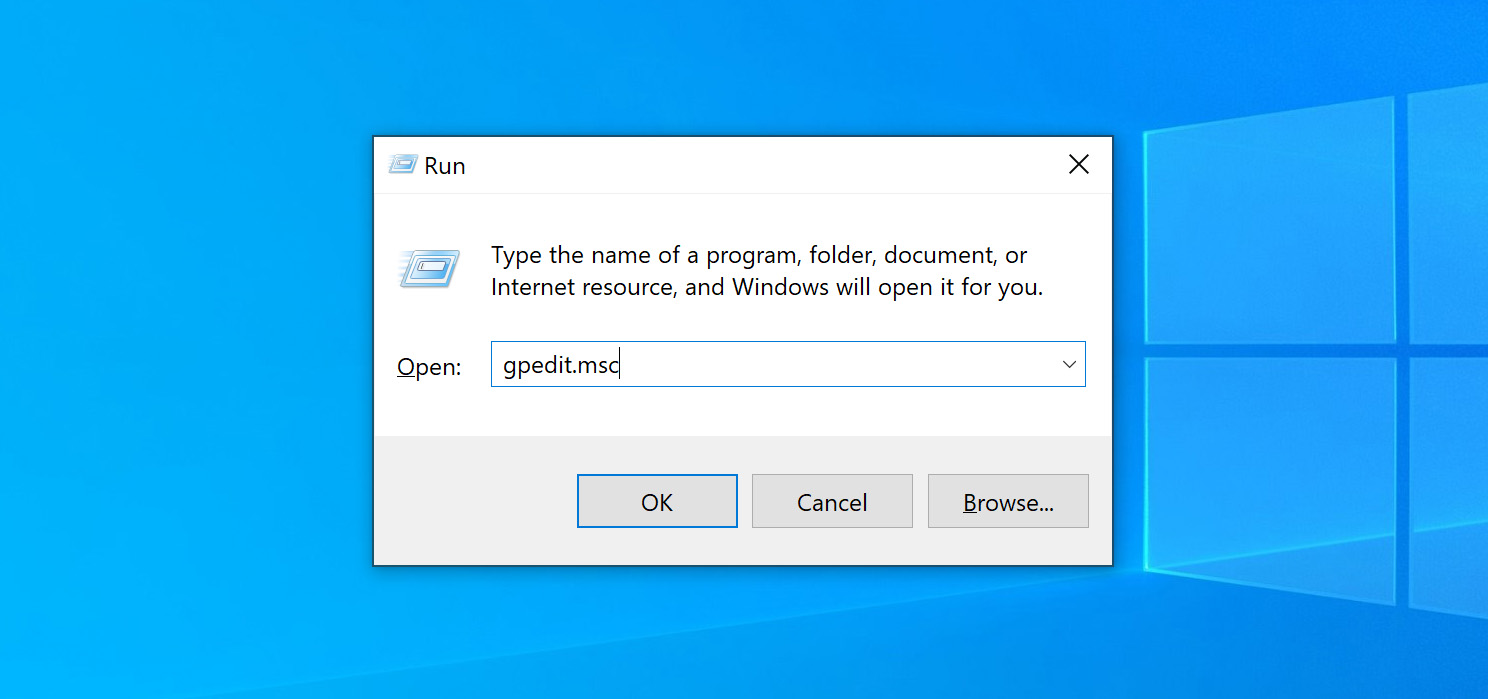
- Launch the Run command (Win + R). Type in “gpedit.msc” and hit Enter to open the group policy editor.
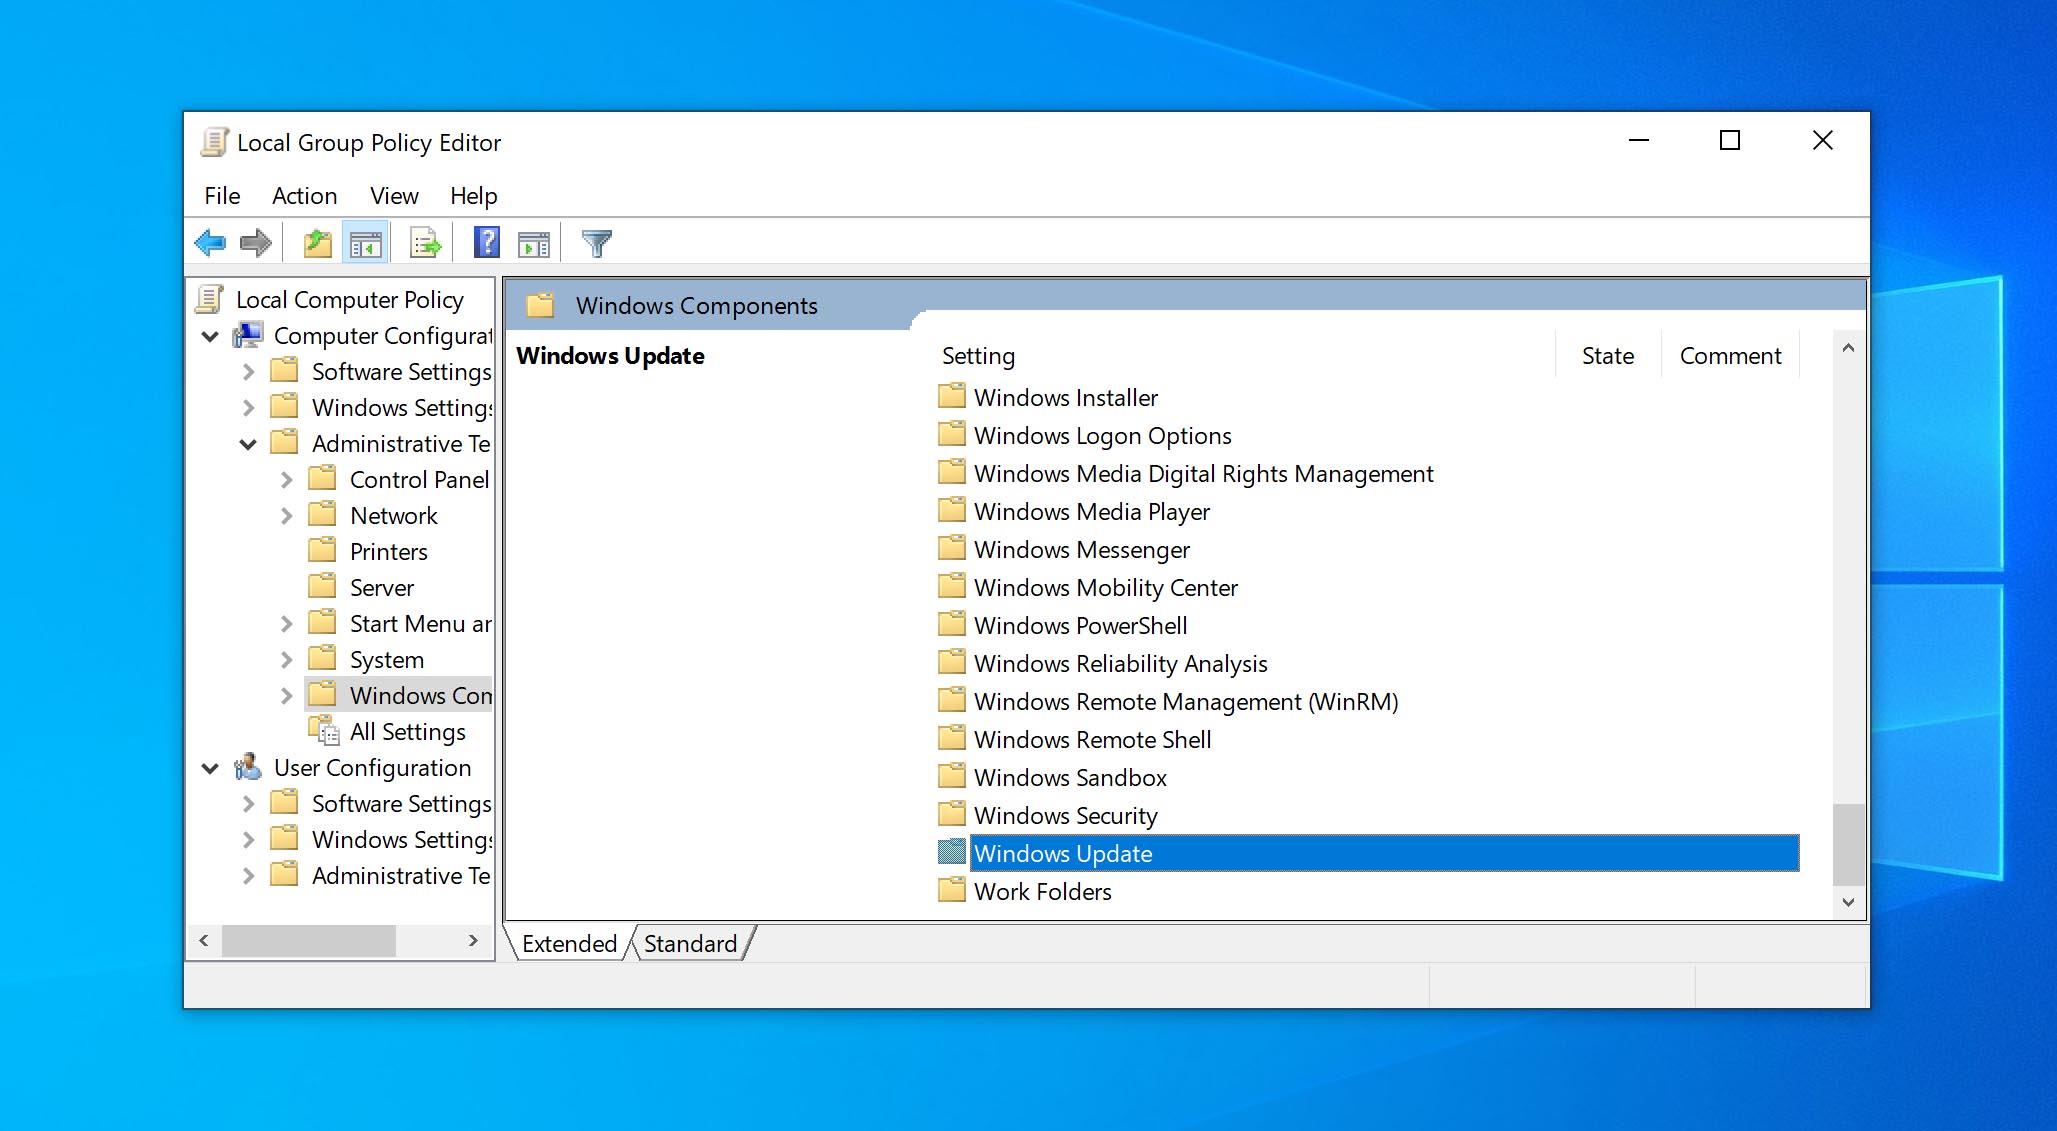
- Drill down through “Computer Configuration” to “Administrative Templates”.
- Select “Windows Components” and then “Windows Update”.
- Choose the option on the right to “Configure Automatic Updates.”
- Select the option that indicates “Notify for download and auto install”.
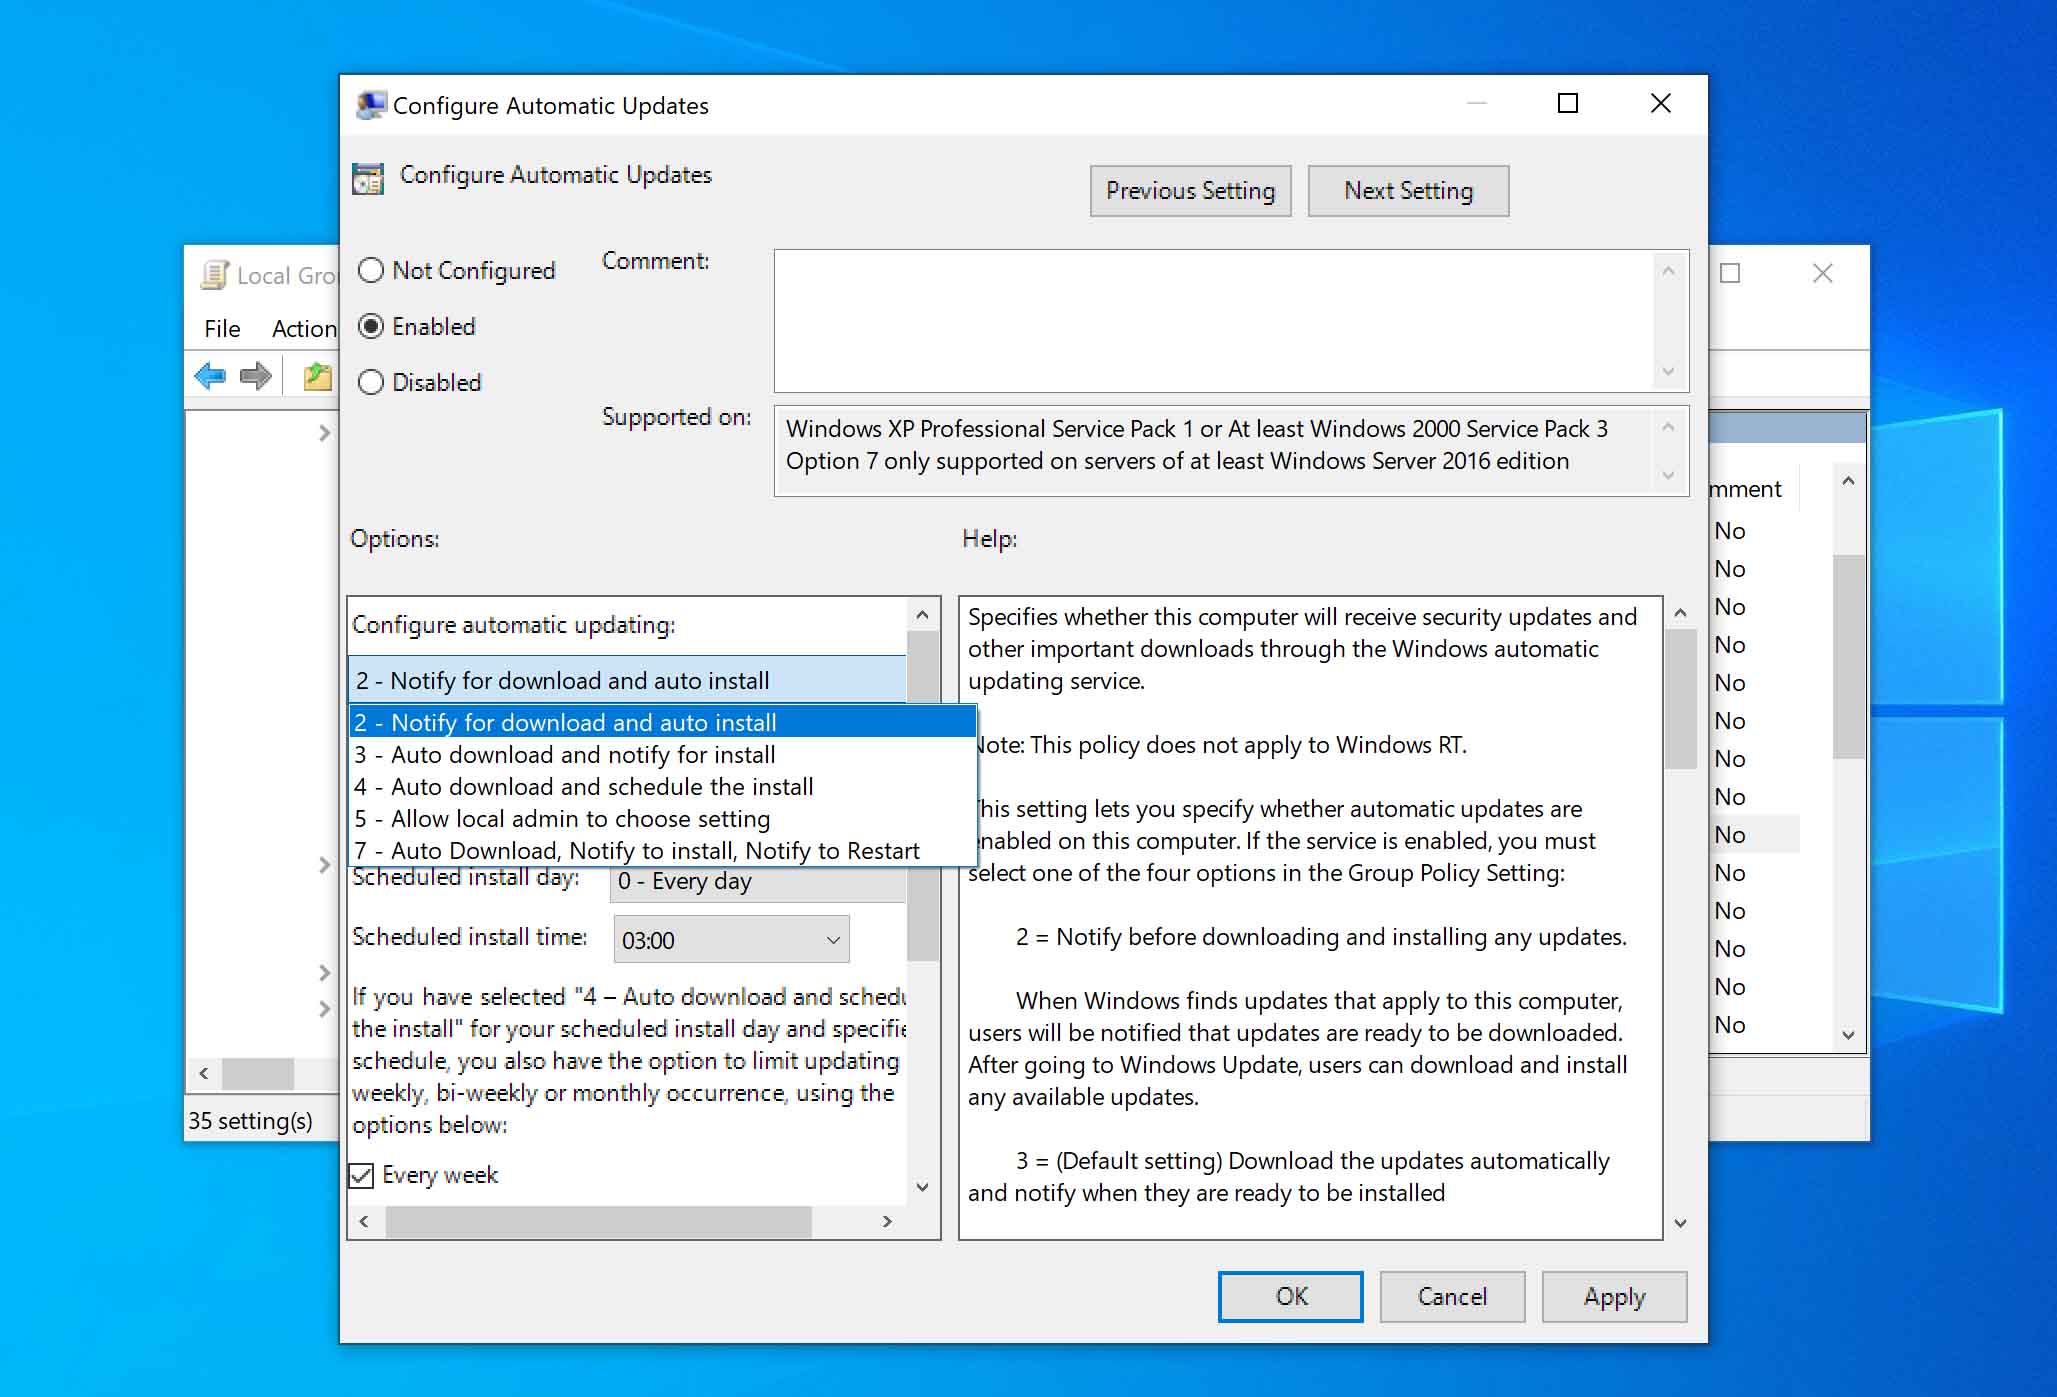
- Click “Apply” and “OK”.
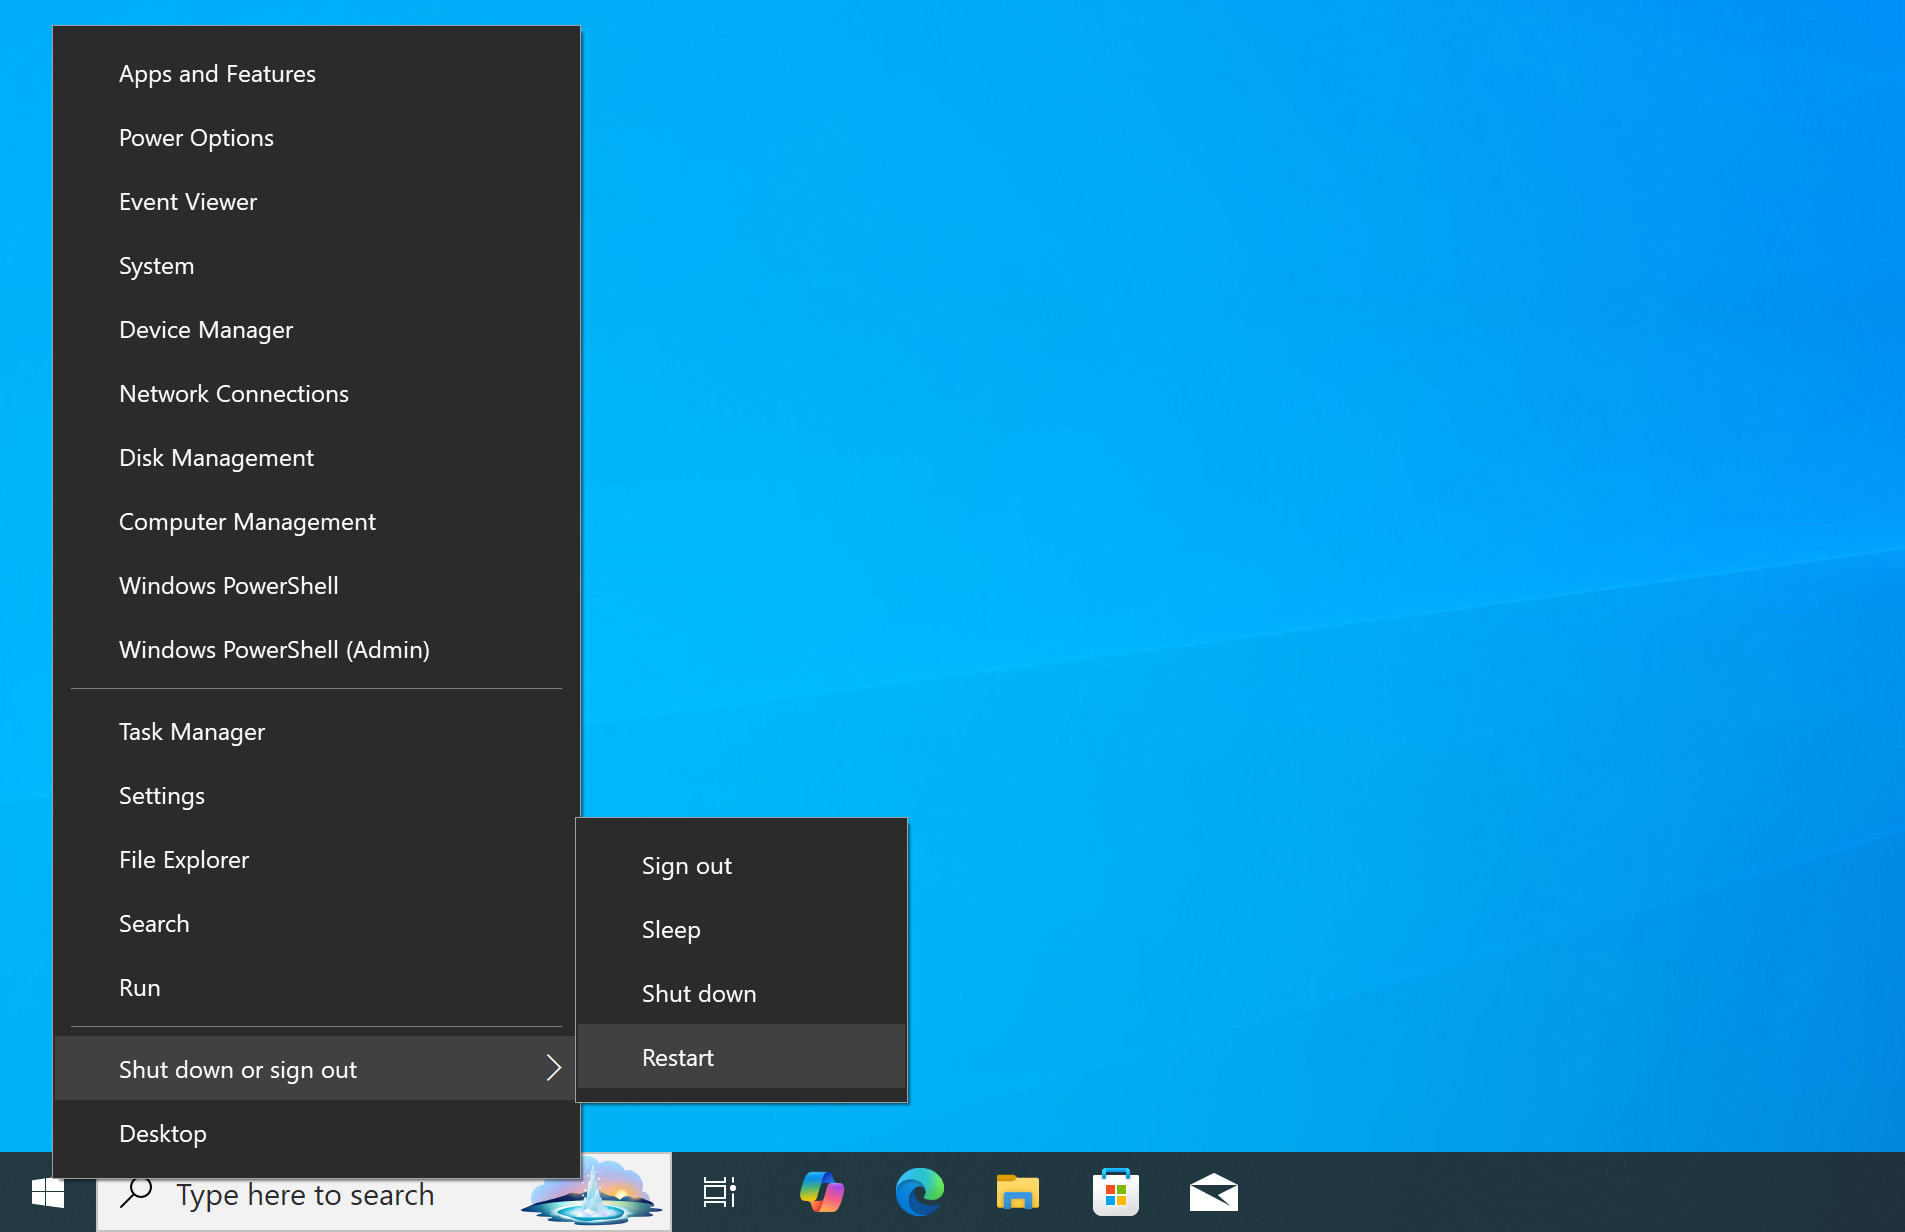
- Type “Windows Update” into the Start menu and select “Windows Update Settings.”
- Restart your computer to finish updating the group policy editor.
- Check for updates. You should be notified by Windows if it finds them but they should not be automatically installed any longer.
From this point forward, Windows should notify you that updates are available, and it is your responsibility to make sure that they get downloaded and installed.
How to Optimize Windows 10 Updates
While disabling Windows updates entirely isn’t recommended, you can optimize how and when updates are installed to better suit your workflow. Here are two effective methods to make Windows updates less disruptive while maintaining system security.
Customize Active Hours
Windows 10 includes a feature called “Active Hours” that helps prevent unwanted restart notifications during your typical work hours. You can configure this setting to tell Windows when you’re most likely to be using your computer.
To adjust your active hours:
- Open “Windows Settings” (Win + I).
- Go to “Update & Security”.
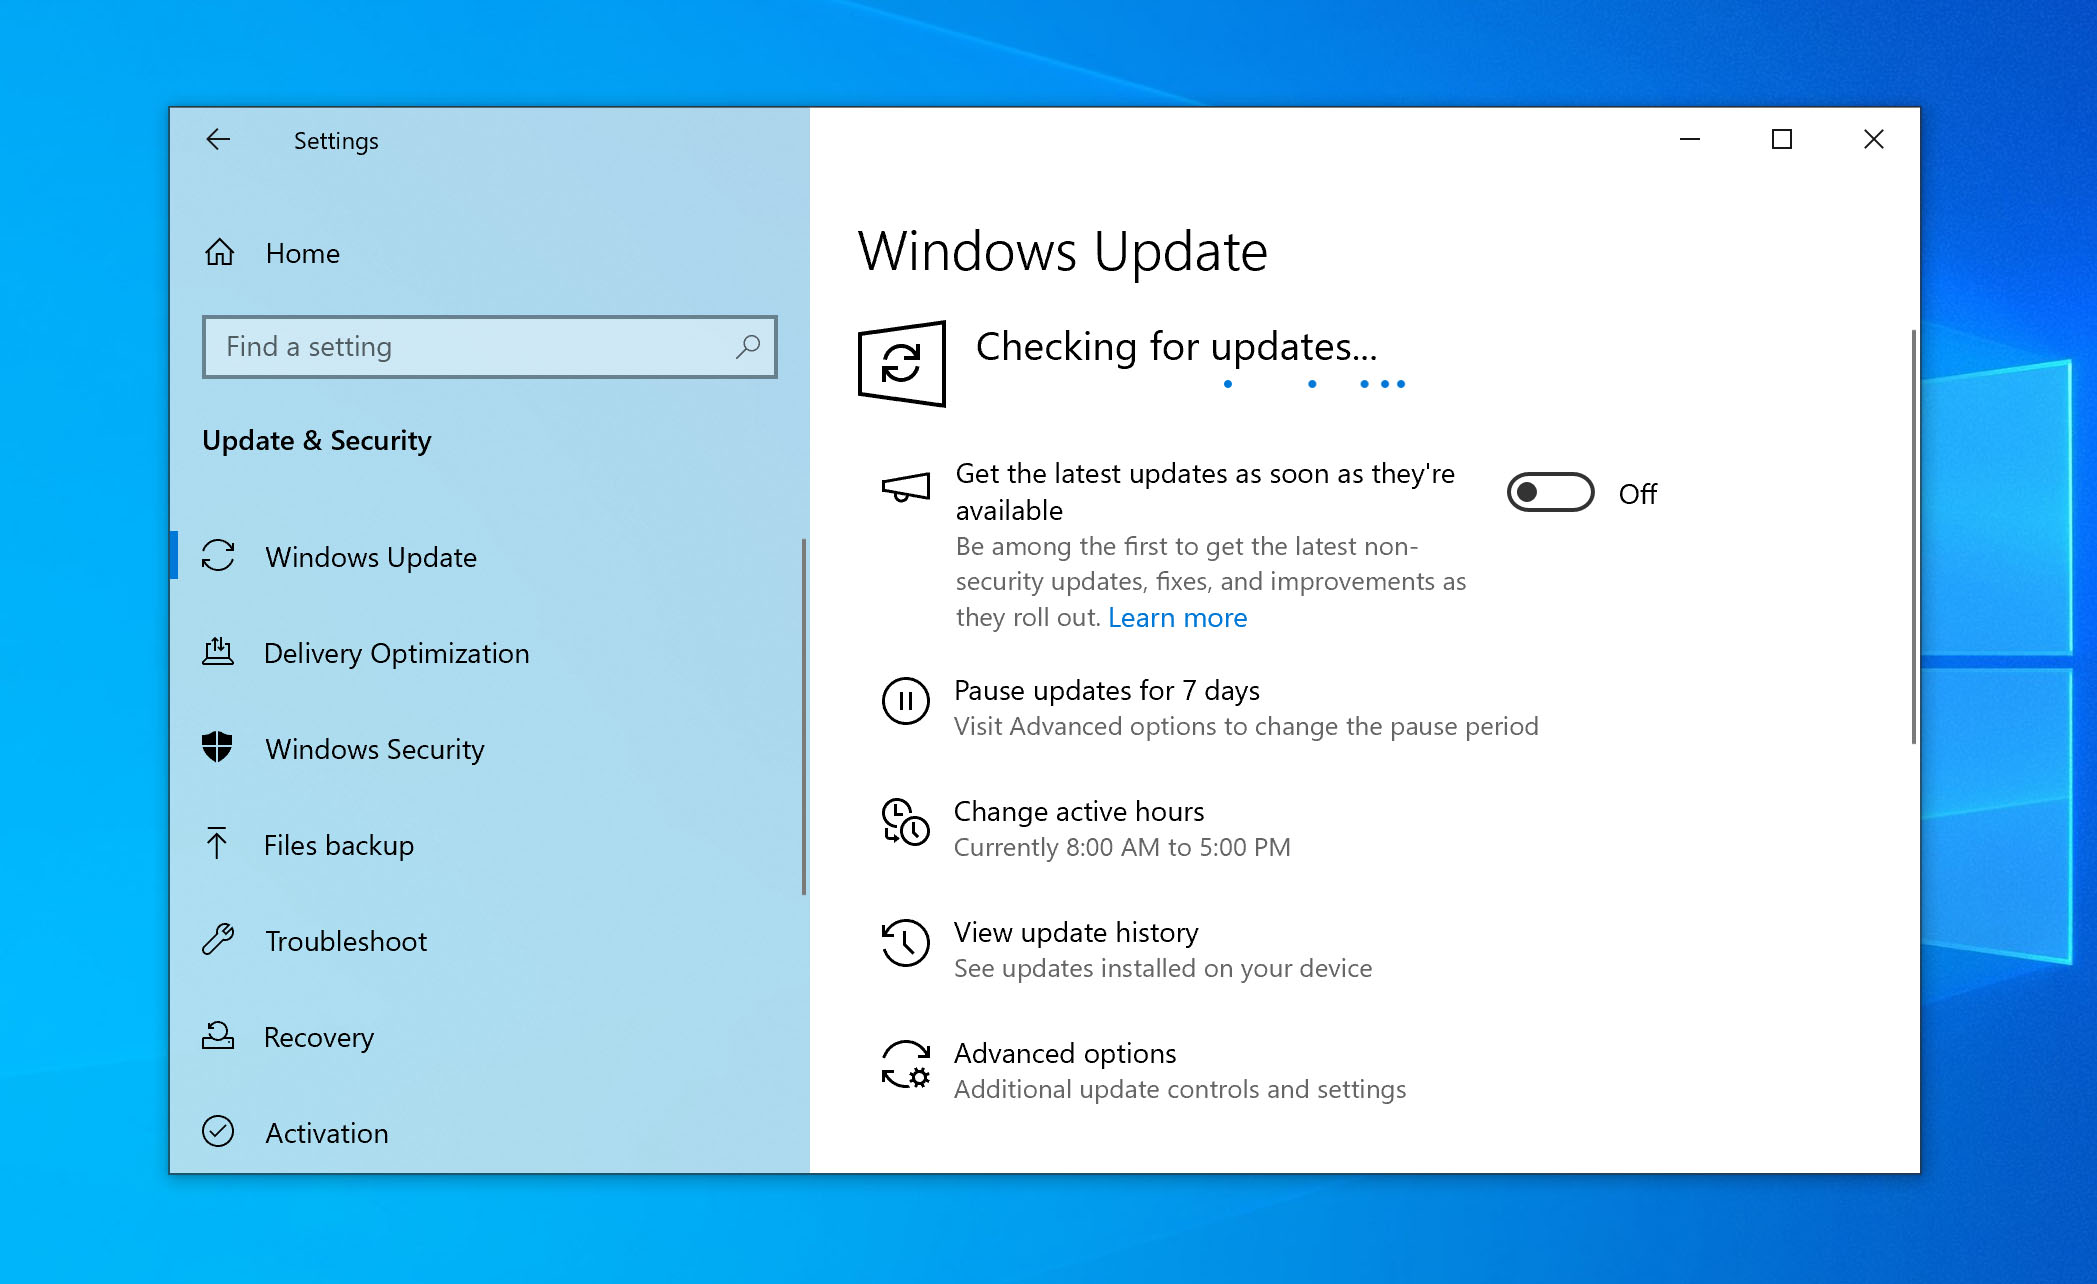
- Click on “Windows Update”.
- Select “Change active hours”.

You can either set the hours manually or let Windows automatically adjust them based on your device usage patterns. For example, if you typically work from 8:00 AM to 5:00 PM, you can set these as your active hours to ensure Windows won’t restart for updates during this time.
Plan Around Update Tuesday
Microsoft follows a predictable update release schedule that you can use to your advantage. According to its official update release cycle, updates are typically released on the second Tuesday of each month (known as “Patch Tuesday” or “Update Tuesday”).
To manually install Windows updates:
- Open “Windows Settings” and navigate to “Update & Security”.
- Click “Windows Update”.
- Select “Check for updates”.
- If updates are available, you can choose when to install them.
Why Would I Need to Know How to Disable Windows 10 Updates?
Operating system, driver, and application updates can often lead to unexpected behavior on the computer on which they are installed. One way to protect yourself and your machine from unanticipated problems is to perform a backup before installing updates to your system.
Unfortunately, when automatic updates are being installed without your approval, you cannot take this precautionary step and face the possibility of having to resort to an older backup if you need to go back past the update.
Many updates need to reboot your machine when complete and certainly take up bandwidth while downloading. This can lead to slower response time and unforeseen reboots that can cause havoc with your work life.

FAQ
Yes, you can configure Windows 10 to notify you about updates without automatically downloading them, but this feature is only available in Windows 10 Pro, Education, and Enterprise editions. Using the Group Policy Editor method described in this article, you can set Windows to “Notify for download and auto install” mode, which lets you choose when to download and install updates.
The simplest method is to disable the Windows Update service through the Services application. To do that, you need to press Win + R and type “services.msc.” Then, find “Windows Update” in the services list, double-click it, and set “Startup Type” to “Disabled.” Finally, either restart your computer or click “Stop” under Service status.
Yes, it’s technically possible to disable Windows 10 updates through Registry modifications, but we don’t recommend it because registry modifications are risky and damage your system if done incorrectly. What’s more, the updates still won’t remain disabled permanently.
You can pause Windows 10 updates for up to 35 days (5 weeks). To do so, navigate to the Update section of the Settings app and click the “Pause updates for 7 days” button.
Windows 10 has multiple mechanisms to re-enable updates because it prioritizes security over user preferences. When as many Windows machines as possible are updated, then the entire Windows ecosystem becomes more secure and resilient against cyber threats.