TOTAL DOWNLOADS
You can recover deleted files from the Mac equivalent of the Recycle Bin folder by clicking the Trash icon in the Dock, selecting your deleted files, and moving them to a safe folder.
Search the website
It might seem impossible to recover files from Trash on Mac. But it's not! We will show you several methods for recovering data from the Trash including the use of data recovery software. With the Disk Drill data recovery app getting your lost data back is a matter of a few clicks and just several minutes. Moreover, it's free to completely scan and find your trashed data, even if your Trash was emptied. macOS Tahoe Ready!
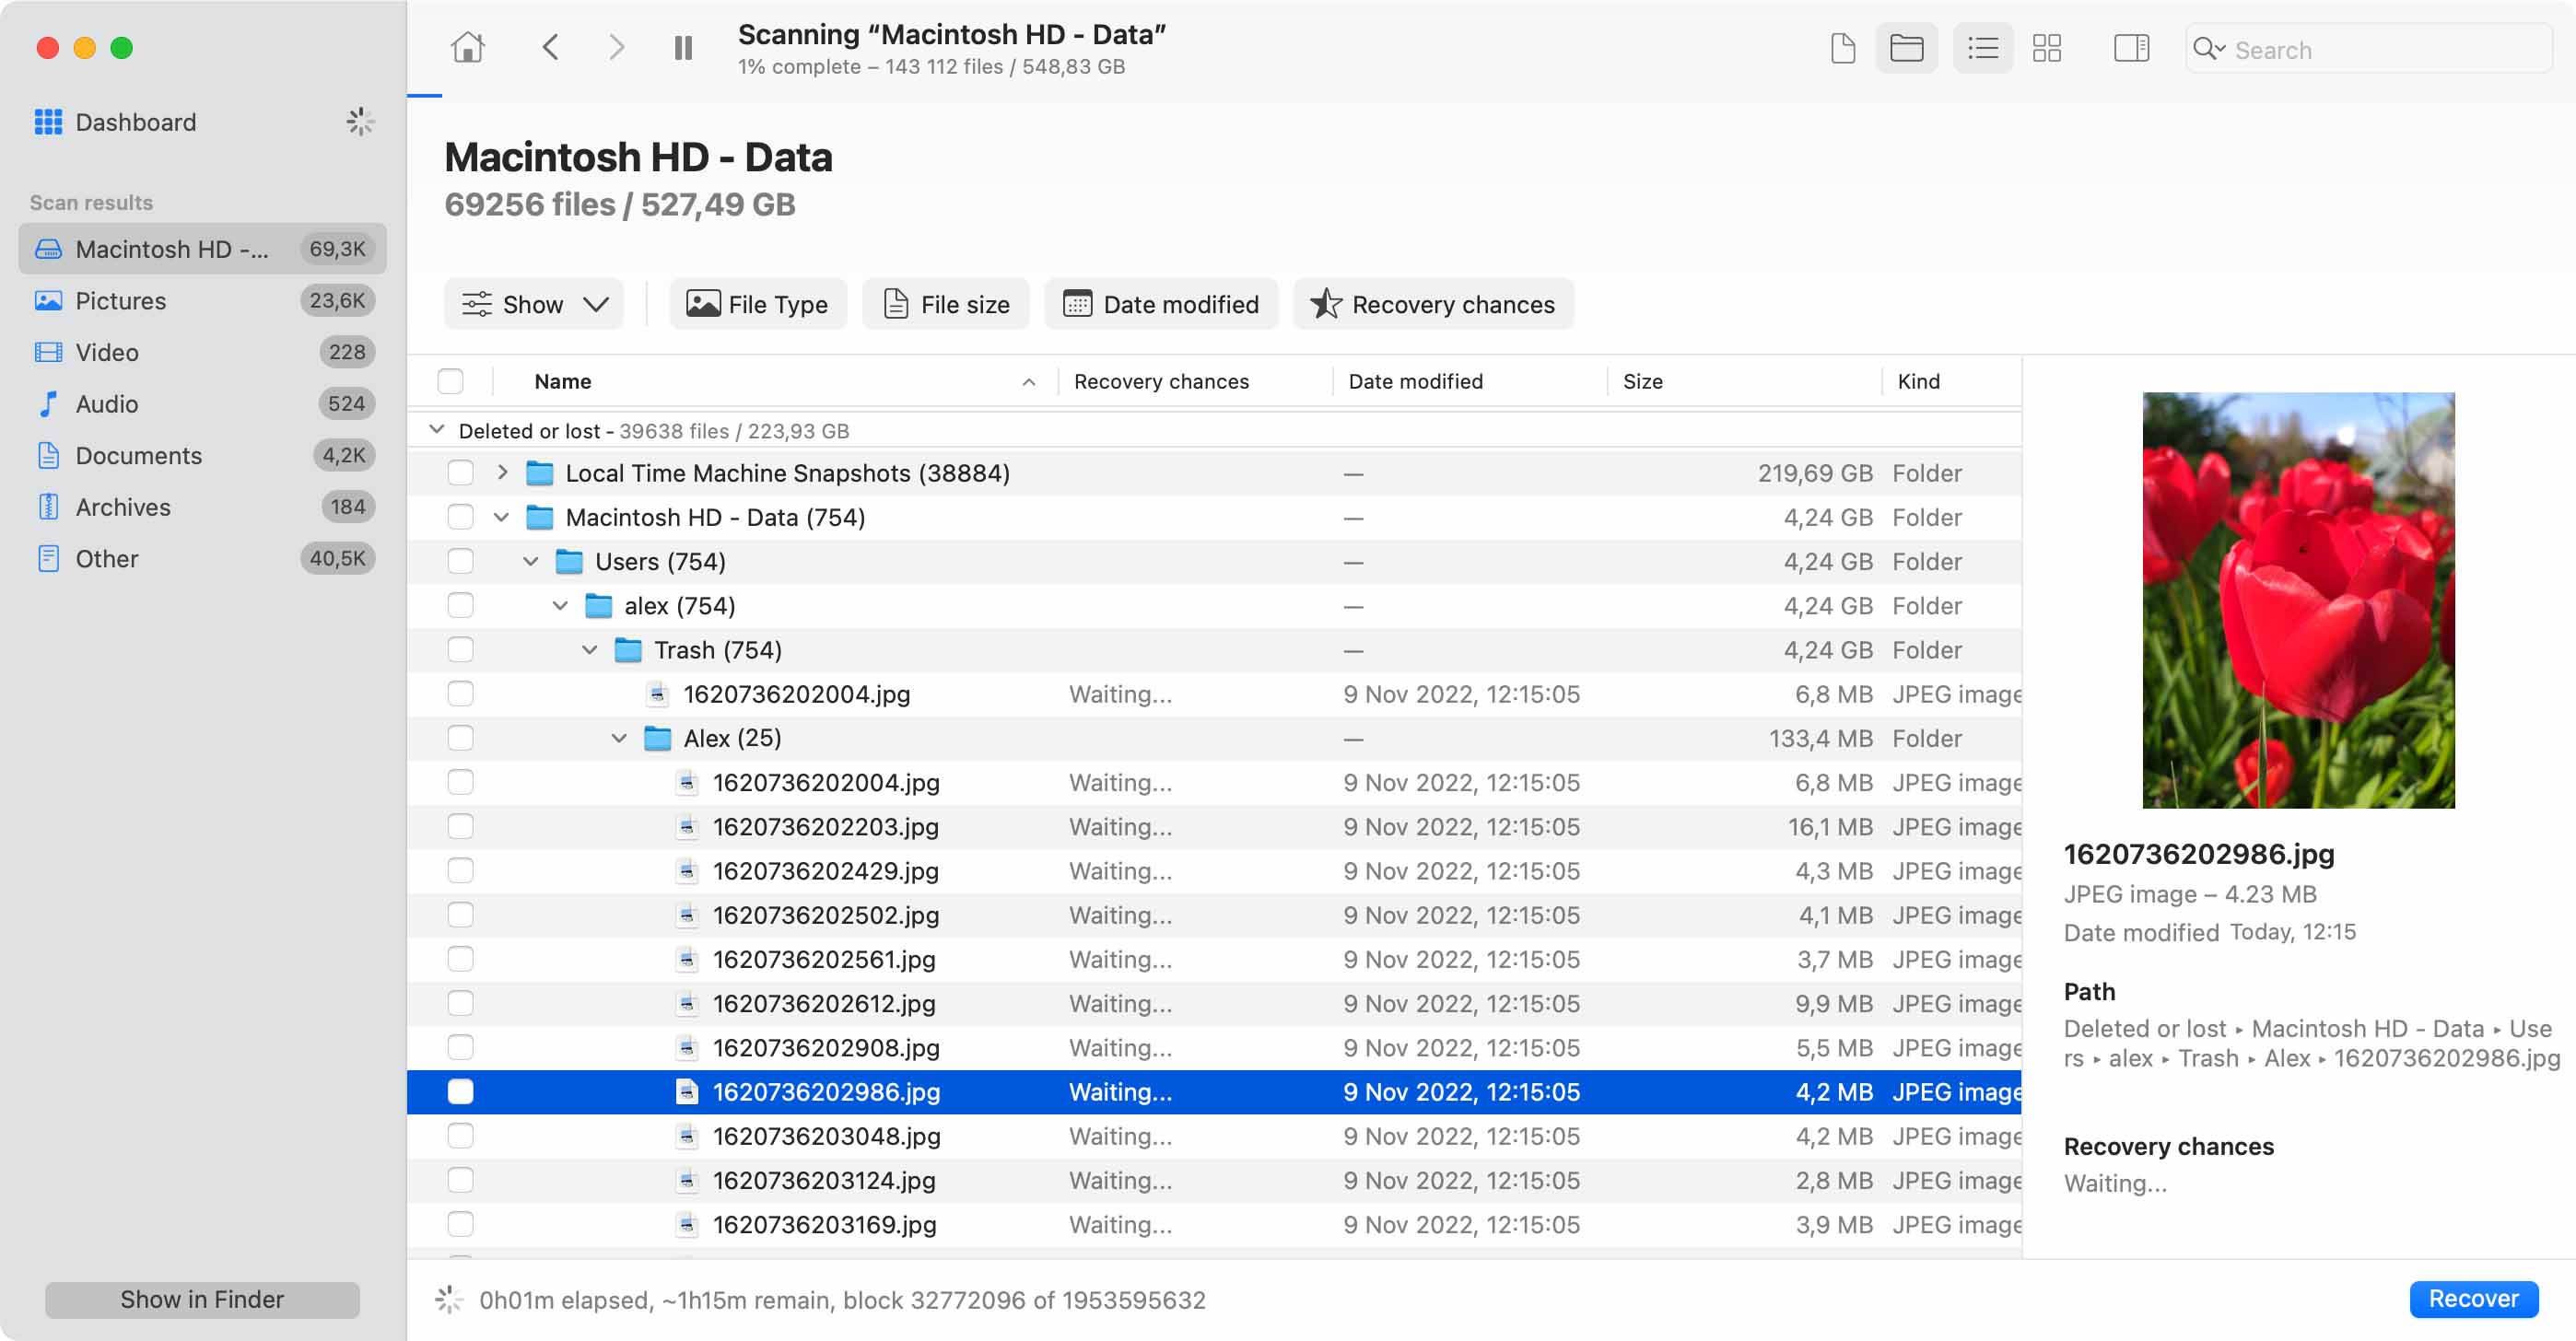
Check out our article Variables That Impact File Recovery Chances to better understand your chances of successfully being able to recover deleted trash on Mac OS X. If you only emptied your trash a short while ago and you did NOT use the “secure empty trash” function, then your chances are good.
Read on for a quick overview of the steps needed to recover Recycle Bin on Mac. For detailed tutorials, see How to Install Disk Drill and How to Recover Lost Files from Your Mac Internal Hard Drive in our Knowledgebase.
Recently deleted files typically end up in the Mac Trash folder, where they stay until the folder is emptied.
To recover deleted files from the Trash on Mac:
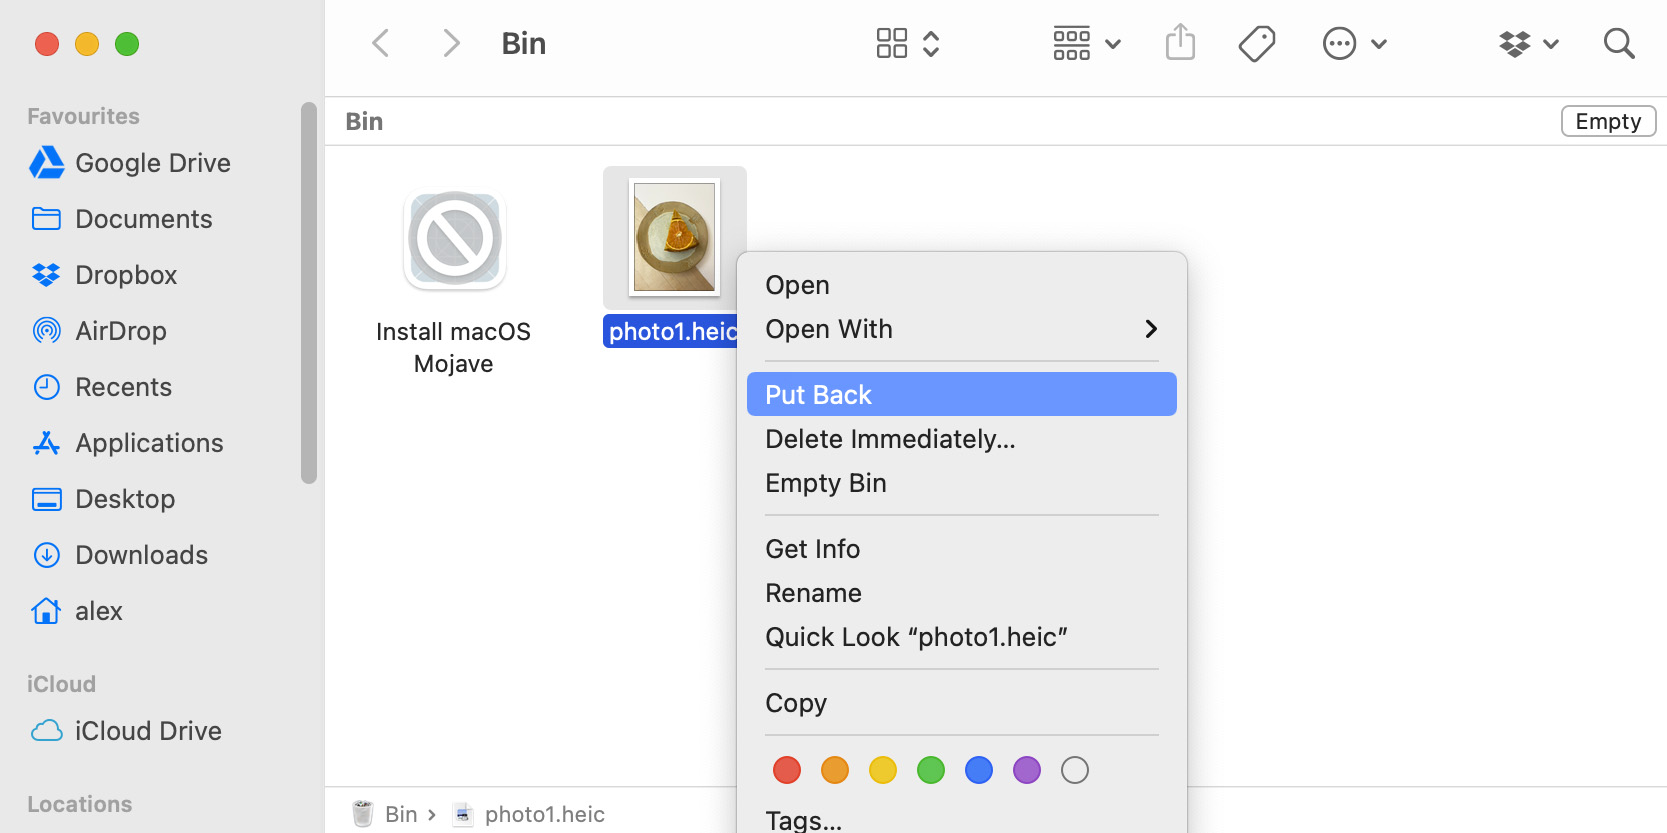
Once you click the Put Back option, all selected files will be immediately moved back to their original locations. If you would rather move them someplace else, then you can click & drag them to any folder you want.
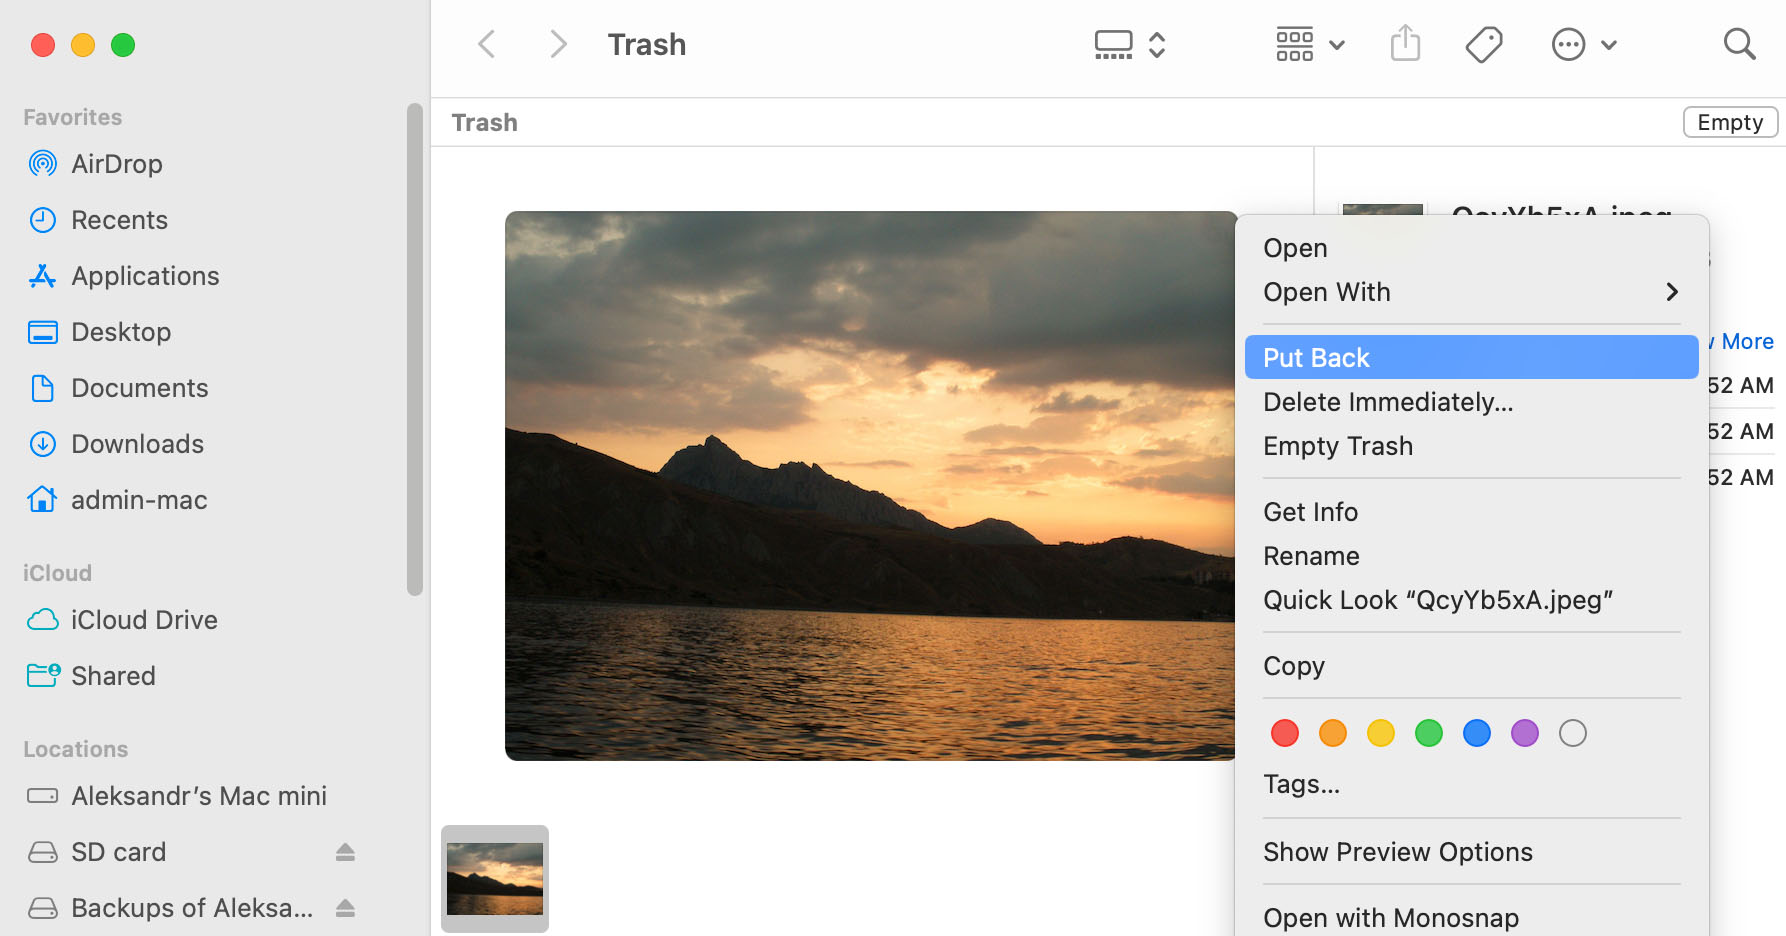
If you haven’t already, download and install the completely free Disk Drill Basic. To install, simply drag and drop the Disk Drill icon to your Applications folder.
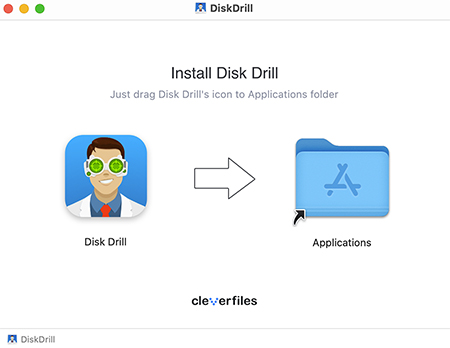
Launch Disk Drill and when the main window appears, select your hard drive and click Search for lost data. This will scan your hard drive and attempt to recover files deleted from trash on Mac OS X.
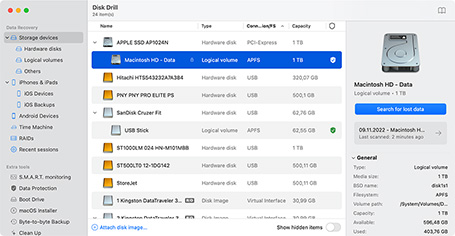
After the scan is complete, Disk Drill will show you the list of files it has found. Sometimes the recovered files do not have their original names preserved, so you can filter your results by date, size and type. Click the “eye” icon to preview the files right in Disk Drill.
Be sure to preview the entire file to make sure it is complete and uncorrupted. There is a good chance you will be able to recover emptied trash on Mac.
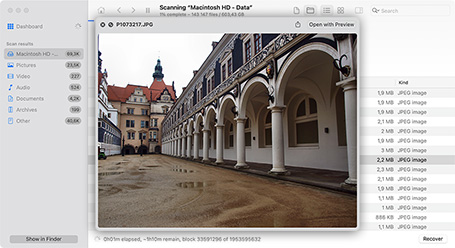
When you find the files you need, check the box next to them and click Recover. Disk Drill will walk you through the file recovery steps.
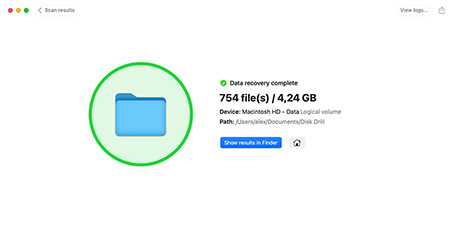
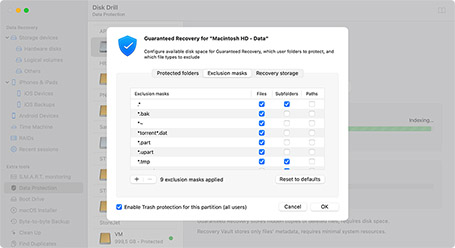
When you successfully recover the emptied trash on Mac, you will want to prevent it from happening again. The best way to do this is to use Disk Drill’s Guaranteed Recovery feature. Guaranteed Recovery monitors your Mac’s trash folder, and makes an invisible copy of any file you send to the trash.
This way you always have a copy – even after you emptied the trash. Simply install Disk Drill on your Mac’s hard drive and then follow the instructions in How to Use Recovery Vault and Guaranteed Recovery to activate it. After that you will never have to worry about recovering deleted files from your Mac trash again.
Mac Trash data loss can have a number of different causes, with each having a different solution or solutions. Let’s take a closer look at some of them.
When you empty the Trash folder, all files that were stored inside become permanently deleted, recoverable only with the help of data recovery software like Disk Drill.
Despite its special status, the Trash folder doesn’t survive storage device formatting, which means that you need to scan the formatted device using data recovery software if you want to retrieve your data.
When your Mac becomes infected with malware, it may be impossible to open the Trash folder, let alone retrieve files from it. To fix the issue, you should first address the malware infection using reliable anti-malware software.
It can be extremely difficult to recover data from a physically damaged storage device. In most cases, it’s best to send the device to data recovery professionals and let them recover your data for you.
File system corruption may cause files to become impossible to open. Fortunately, macOS comes with a feature called First Aid, and you can use it to fix file system errors and restore access to your data.
It’s possible to delete files on macOS while skipping the Trash folder. Such files immediately become permanently deleted and recoverable only using data recovery software.
Once you have emptied your Mac’s Trash Can your recovery options are limited. The only reliable ways to recover from an emptied Trash Can on a Mac are:
If the data had been backed up before it was removed from the Trash Bin, you could easily recover it from the backup storage media. This is a fairly straightforward method of recovering your lost information. There is no mystery to the fact that you need to have backed up a particular file if you want to recover it from a backup.
Using data recovery software or a recovery service are the other methods to recover emptied Trash from your Mac. Both of these recovery methods take advantage of the way that the macOS deletes data. When the operating system deletes a file, it does not physically remove the data from the storage media. It simply eliminates the logical links that make the files and folders accessible by the system and marks the space they occupied as available for future use.
Until the space has been overwritten by new data, the original files can be recovered. If the storage device can be accessed by your operating system, data recovery software may be able to perform a Mac Trash recovery. If the device has experienced physical damage, a professional data recovery service may be required to get your data back.
There are multiple ways to recover deleted items on a Mac without software:
🏆 Best for: Files that were deleted a few moments ago.
If you accidentally delete a file or folder, using the undo command immediately can get it back. On your Mac, the Command-z keystroke combination undoes your last command and will undelete your files. This command will NOT undo the emptying of the Trash Can. Once you empty the Trash, you cannot undo the procedure.

🏆 Best for: Recently deleted files.
We will look at the details of using specific methods to recover data from your Mac’s Trash.
How to recover the Trash on Mac:
🏆 Best for: Permanently deleted files that have been backed up.
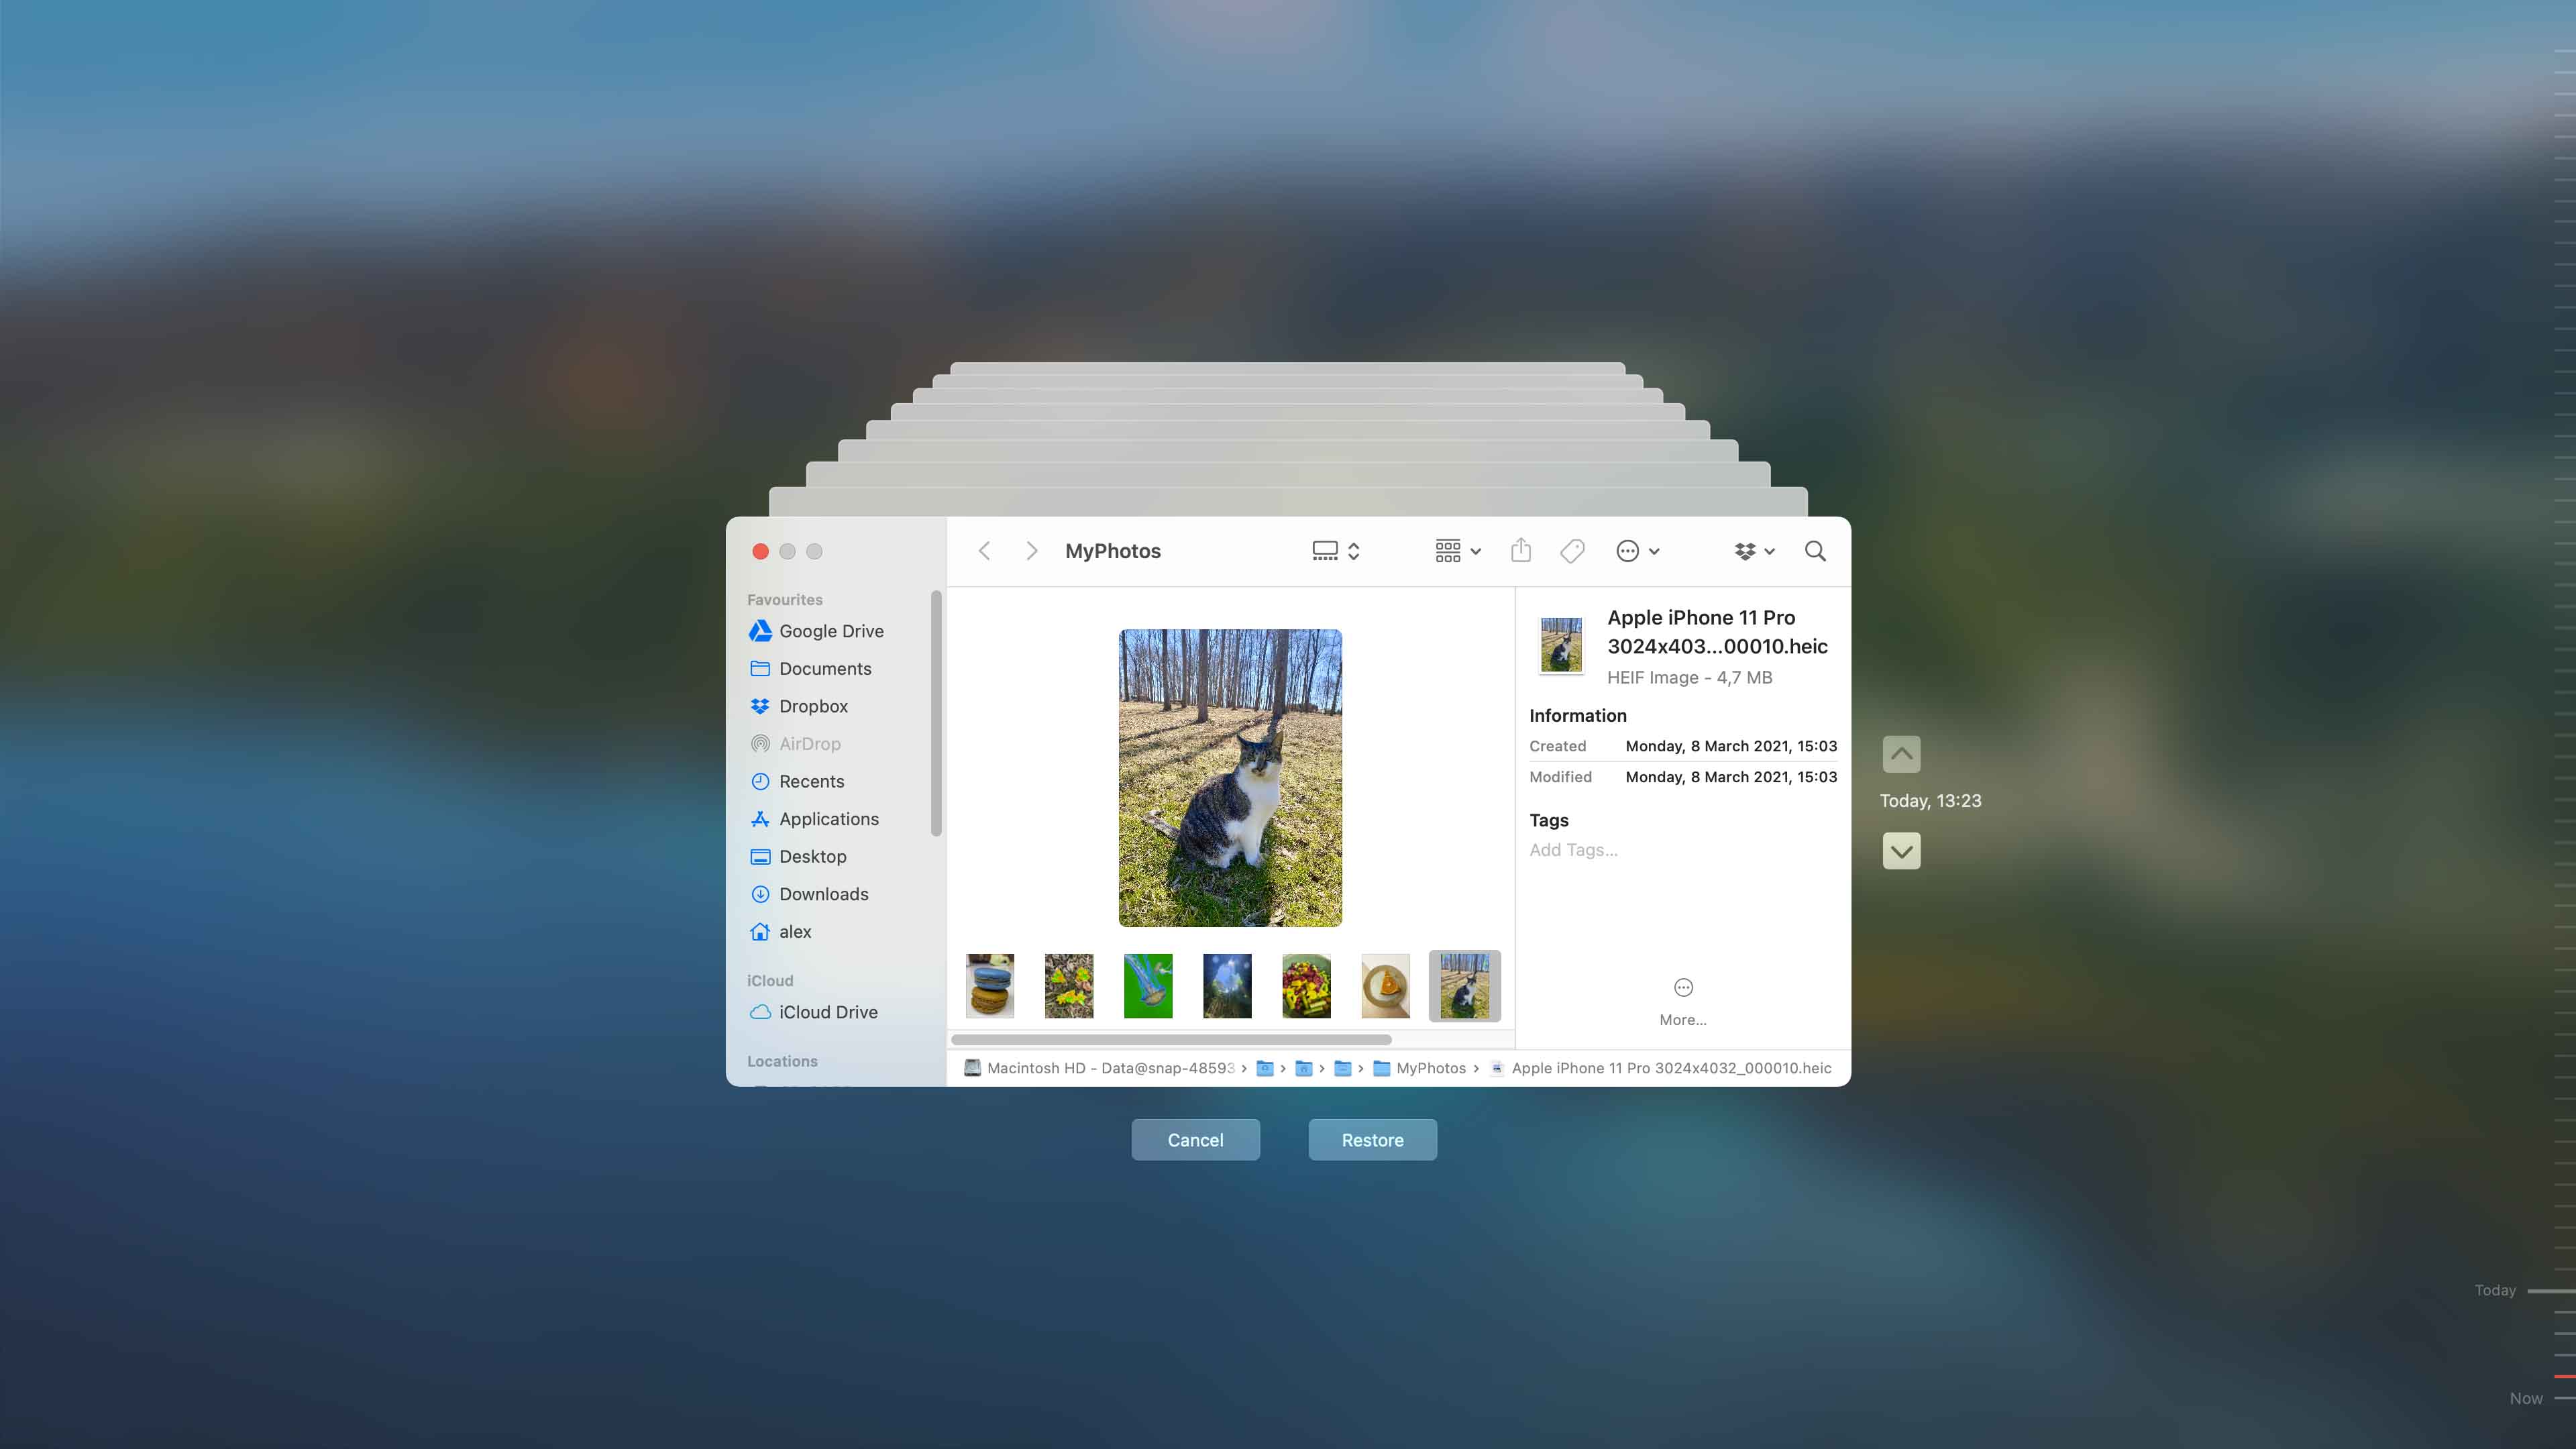
🏆 Best for: Files not included in Time Machine backups.
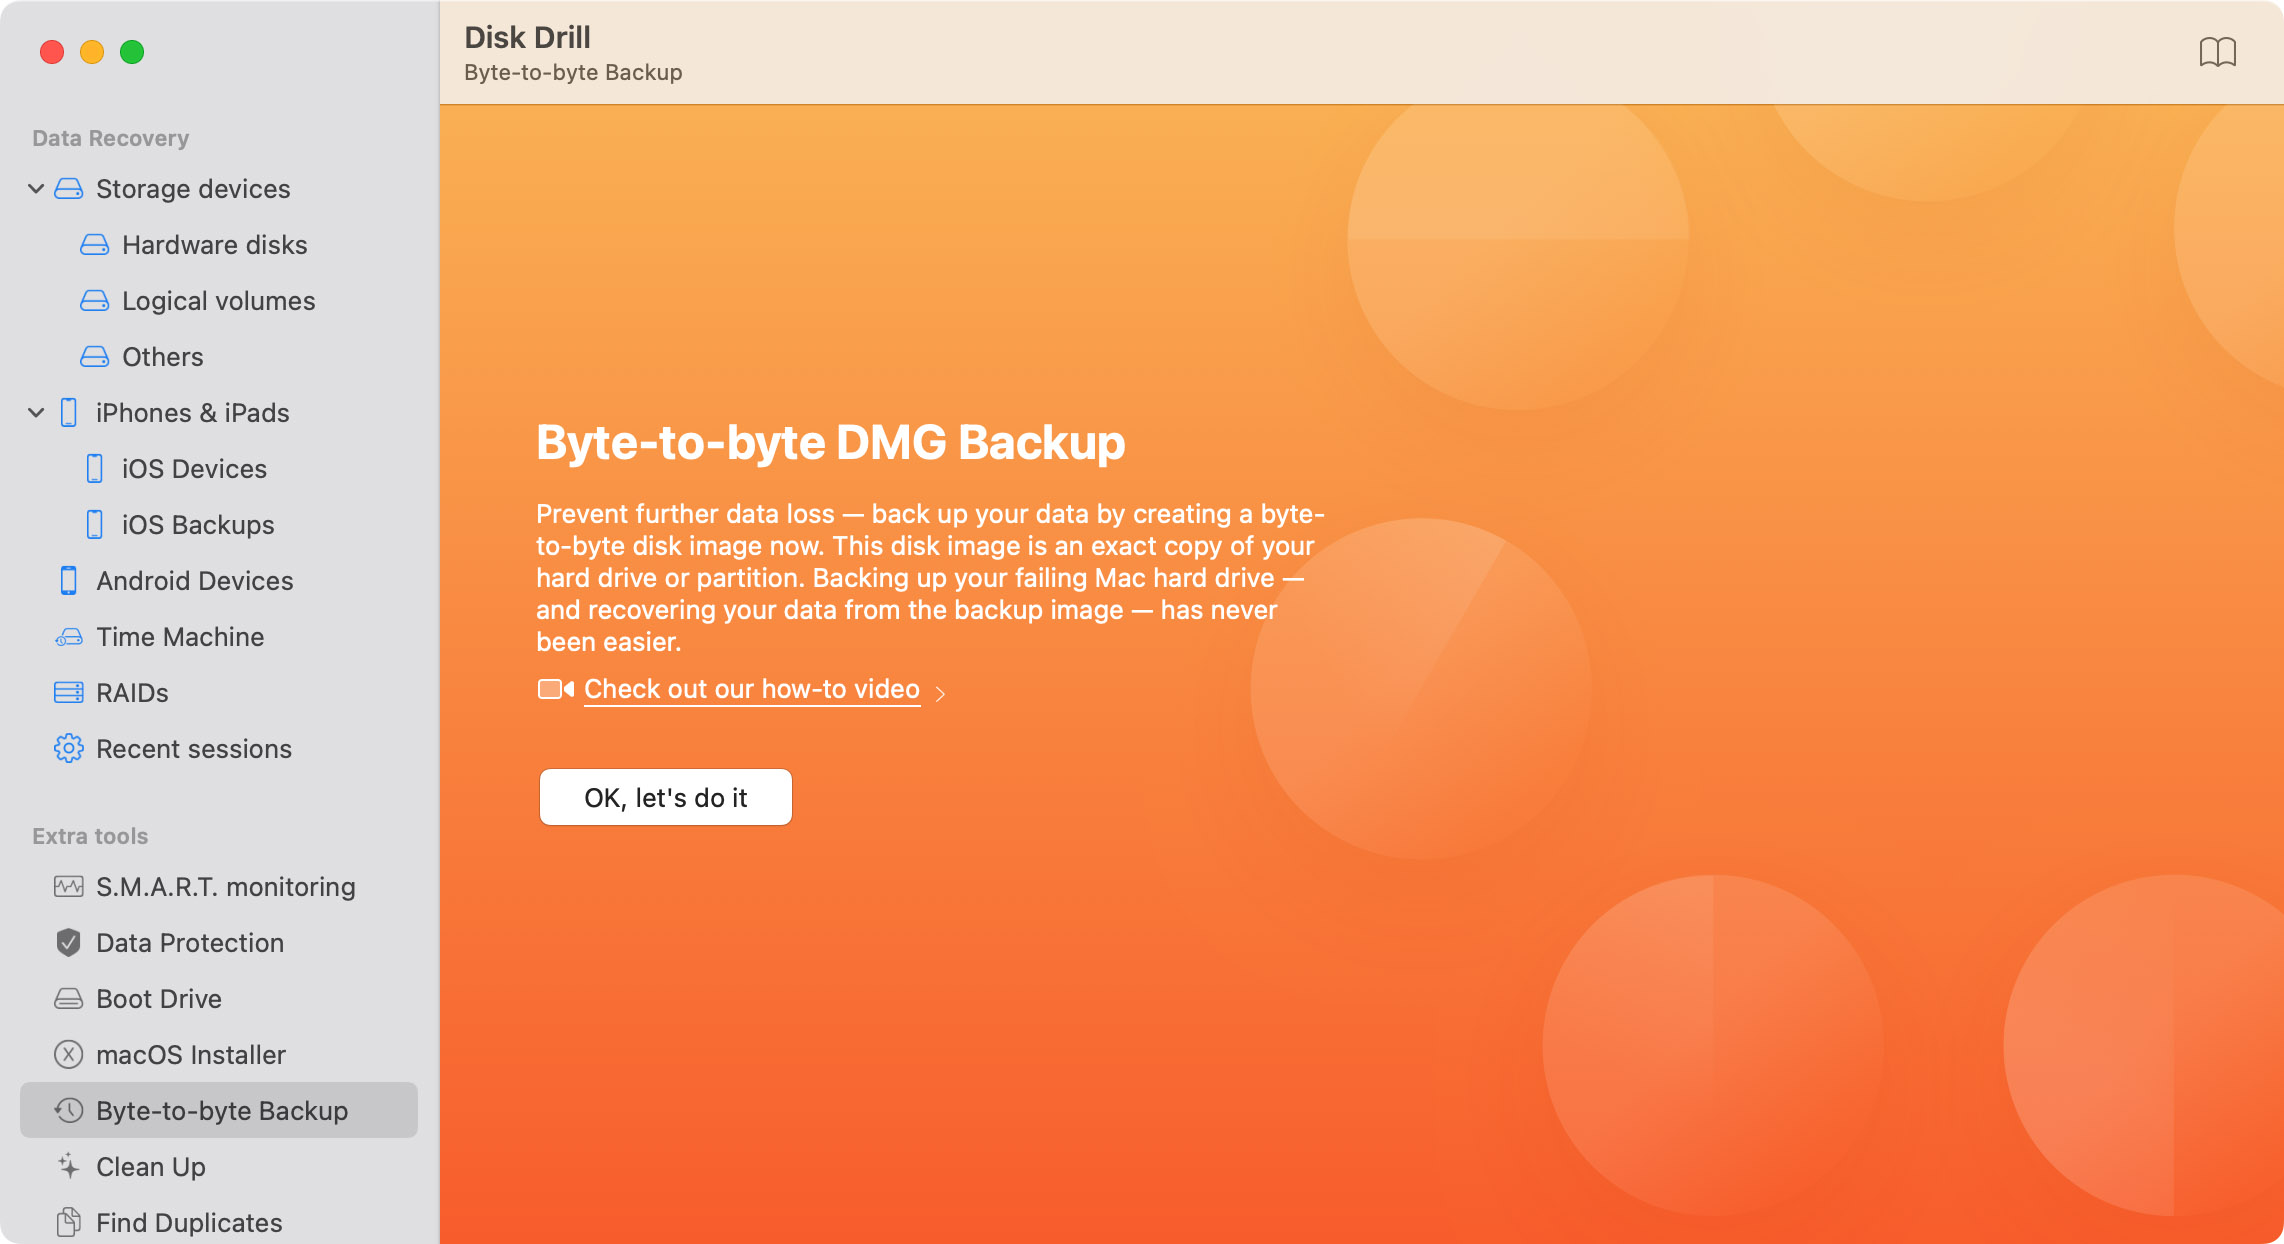
You may have decided on another backup solution rather than using Mac’s Time Machine feature. If this is the case, you can recover files deleted from the Trash using your backup media by following the steps for your particular backup solution. A good solution is to use Disk Drill to create a byte-level backup of your system which includes deleted files that can be recovered. Here’s how to recover from a Disk Drill backup.
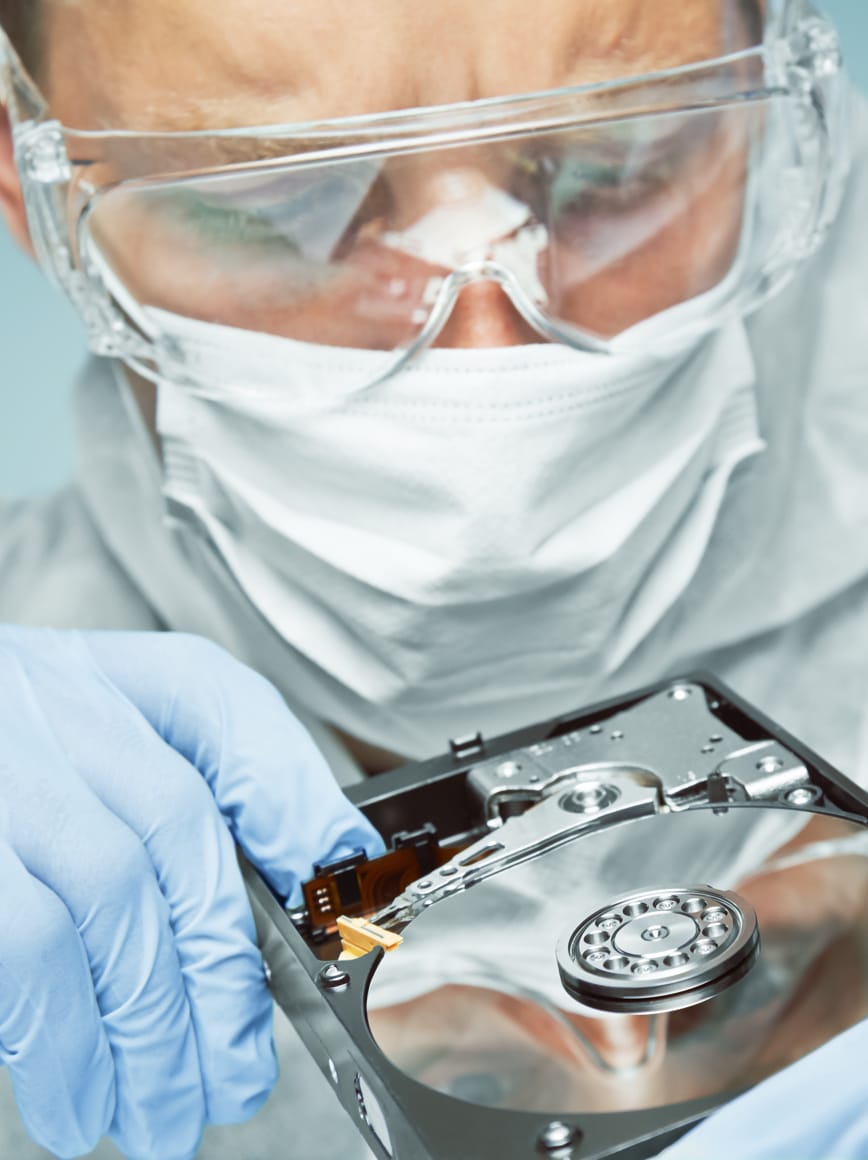
🏆 Best for: Files located on physically damaged storage devices.
A data recovery service may be able to recover files after the Trash has been emptied. Here’s what to expect if you need to engage a recovery service to get your data back.
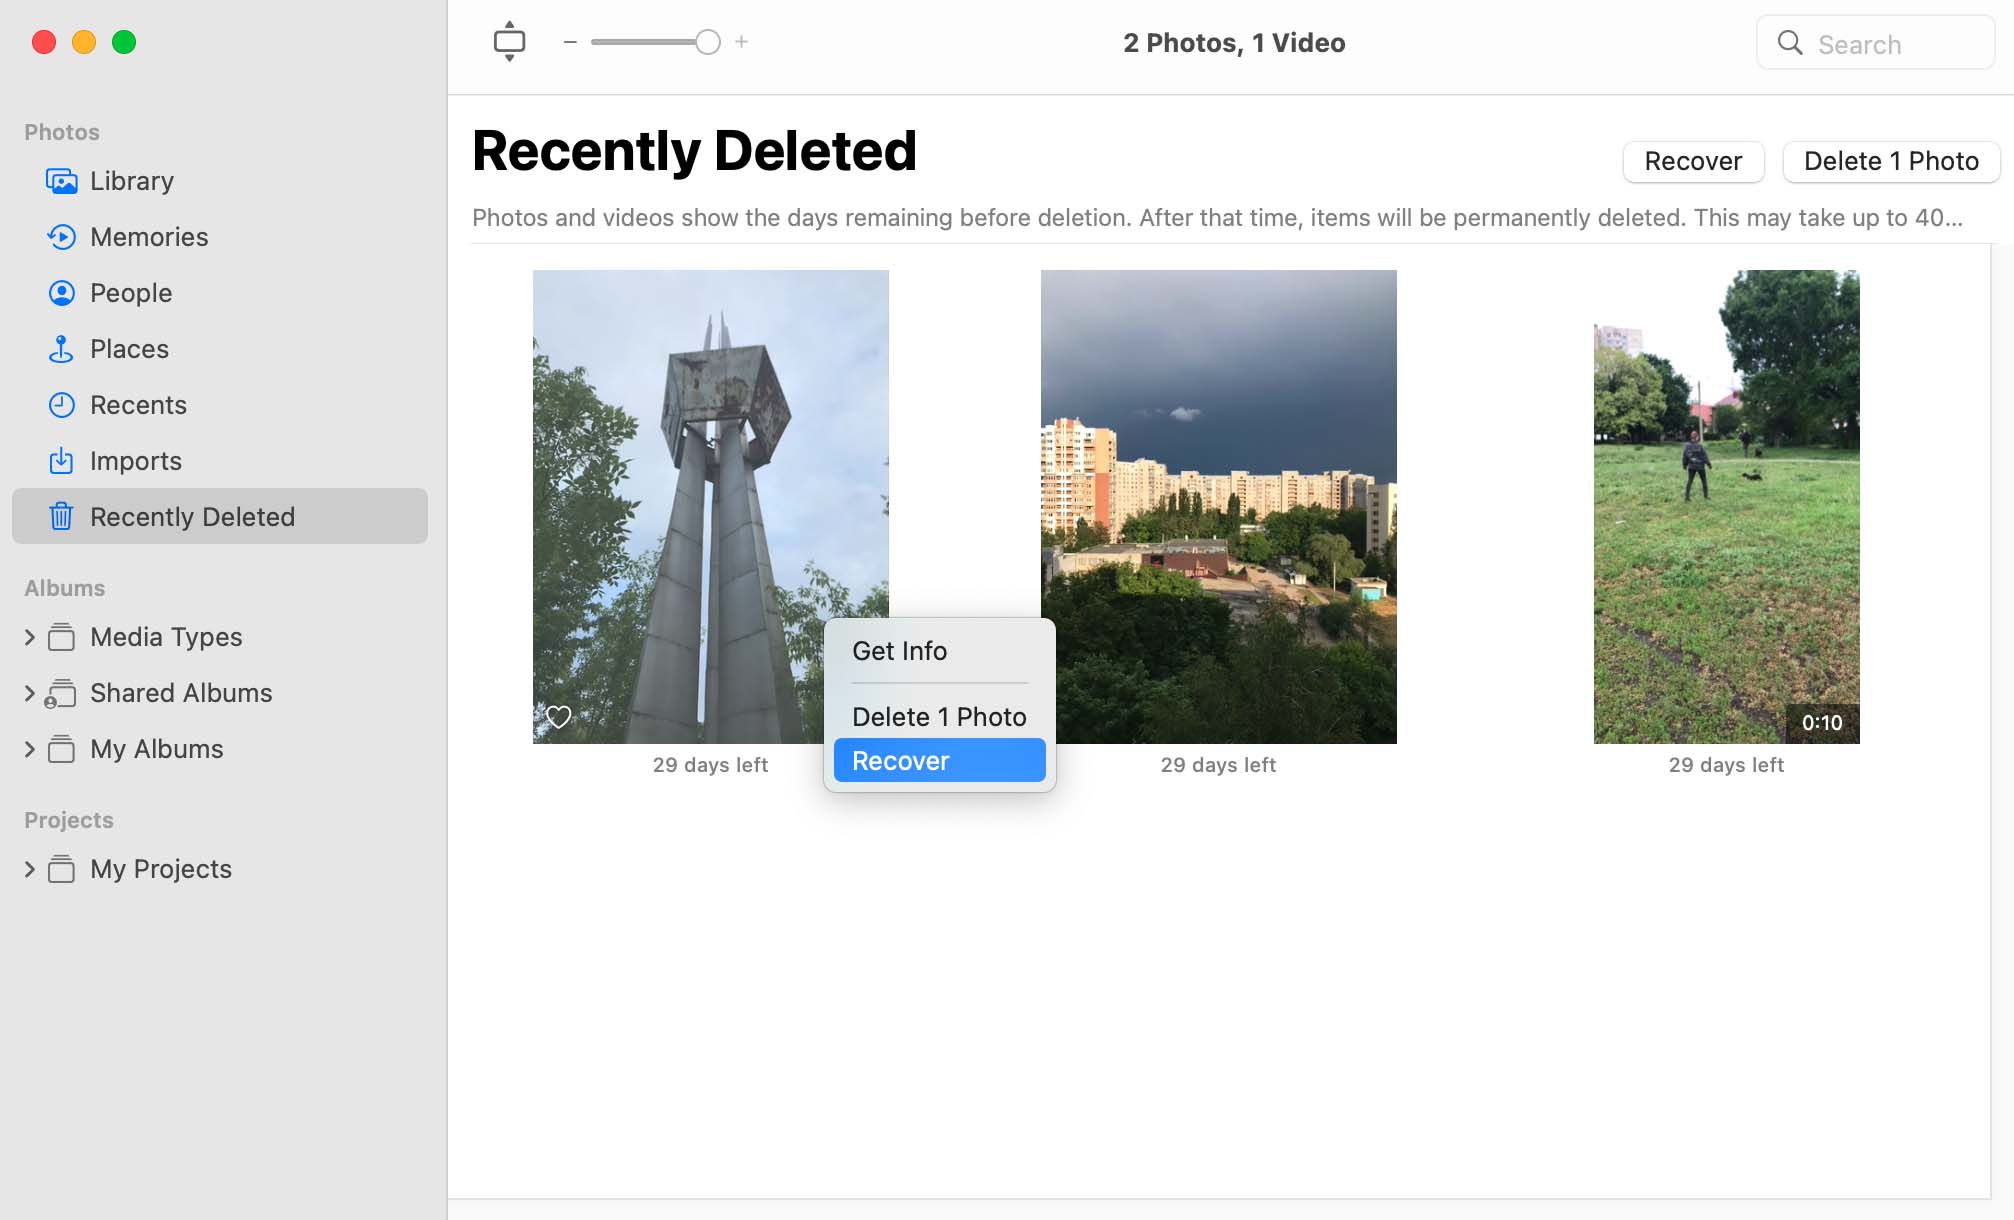
🏆 Best for: Files deleted from within certain applications.
Some Mac software applications have their own alternatives to the Trash folder. For example, the Photos app has a folder called Recently Deleted, where all deleted photos and videos are placed for a certain amount of time before they become permanently deleted.
Other Mac apps that have an app-specific Trash folder should work similarly, so adapting the steps above to recover lost data from them shouldn’t be a problem for you.
🏆 Best for: Those who prefer command-line methods.
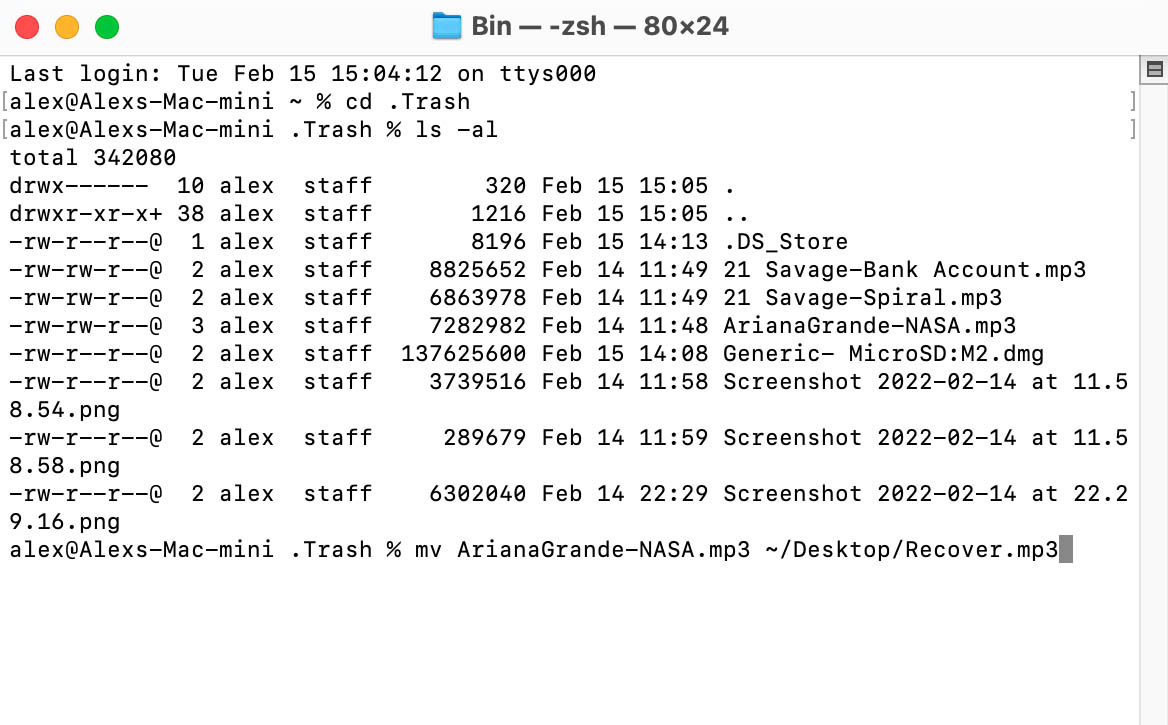
Since Trash is just a special folder on your hard drive, you can access it from the Terminal app and use readily available file management commands (such as cd, ls, cp, and mv) to recover your files. While cumbersome, this approach may be a real life-saver in situations when accessing the Trash folder using Finder isn’t possible.
Taking a few simple precautions before emptying your Mac’s Trash can save you a lot of time later. Consider following these practices to minimize the possibility that you empty the Trash along with important files that can no longer be recovered.
This is a simple activity that shouldn’t take too much time. Glancing at the sites in the Trash may draw your attention to some items that you did not want to delete. You can easily get them out of the Trash and then go ahead and empty it if that’s your plan.
It never hurts to take a backup before any activity that can potentially delete data. It might seem like overkill, but why not take a backup before emptying the Trash rather than afterward? You will be able to recover files that were in the Trash at the time of the backup without using recovery software.
Downloading Disk Drill for free gives you the capability to take a byte-level backup that includes files from an emptied Trash that have not been overwritten. You can use this backup with data recovery software to repair the logical links and make the items accessible to your OS again.
When you click the Trash icon in Dock, you don’t actually open any specific Trash folder. Instead, you open an aggregated view of all Trash folders on storage devices connected to your system.
When you delete a file on macOS, the file is moved to a Trash folder, and it will stay there until permanently deleted, which can happen automatically or manually, depending on your settings.
Once a file is permanently deleted from Trash, you can recover it only using specialized data recovery software like Disk Drill and only under certain conditions (the storage devices mustn’t be encrypted, and the file itself must still be physically present on the storage device).

Updated on by Disk Drill Team
You can recover deleted files from the Mac equivalent of the Recycle Bin folder by clicking the Trash icon in the Dock, selecting your deleted files, and moving them to a safe folder.
To recover deleted files from an emptied Mac Trash Bin:
You can restore permanently deleted files from Trash using Time Machine:
Yes and no. When you empty the Trash, the files are permanently logically deleted from your system. The physical data still exists until it is overwritten and can be recovered with data recovery software or a data recovery service.
You can undo sending a file to the Trash folder on Mac by pressing the Command-Z shortcut. Know that you can press the shortcut multiple times to reverse more actions.
The Trash icon is located on the far right of your Mac’s dock.
Deleted files remain in their original location after you empty the Trash. The space they occupied is marked as available for use by the operating system and will eventually be overwritten by new data.
You can recover photos after emptying Trash using data recovery software like Disk Drill:
If your Trash Can has disappeared from your Mac’s Dock, you can try this method of recovering it.
If you have not already emptied the Trash Bin you can use the Terminal application to recover deleted files. Use this procedure:
Follow these steps to restore files from the Trash to their original locations:
Yes, there is a Trash Bin on your external drive. There is a hidden folder in the root directory of every drive named .Trash. Your system’s Finder settings can be modified to allow you to view the hidden folder. The Trash Bin located on an external drive can be used to restore recently deleted files through the command-line interface.
Use Deep Scan to be efficient even in the situations when almost no file structure is left. Even if the files were moved to Trash quite some time ago Disk Drill will apply its best knowledge of file signatures to locate the correct ones and bring them back to life. Files like XLS, DOC, AVI, MP4, JPG, and others are pretty easy to recover from emptied Trash on Mac when the needed signatures are found.
REQUIREMENTS
macOS 10.15.7–26.x, 62.9 MB
Use Disk Drill 1.x-5.x for OS X 10.5+
AVERAGE USER RANK
NEWEST RELEASE





TOTAL DOWNLOADS
PRO CLIENTS
in 160+ countries
Thanks for building this app! It recovered most of the photos I lost after a disk crash.
Disk Drill is an excellent utility that has a place on every hard drive, especially if you use an iPhone, digital camera, or other digital devices. Erica Marceau