There are multiple data recovery services in the San Jose area. These local businesses can help you restore accidentally lost, deleted, or corrupted digital files of nearly every kind. We list recovery services and share their contact information for your convenience.
Secure Data Recovery Services in San Jose, California
San Jose is home to multiple companies that specialize in recovering missing data. Each company has professional, certified personnel available to help you get your files back. They can assist you whether the files were lost from a hard drive, SSD, micro SD or another type of memory card, an Android phone, or an iPhone.

San Jose, CA 95124
Monday - Friday: 11AM - 4PM
Saturday: Closed
Sunday: Closed
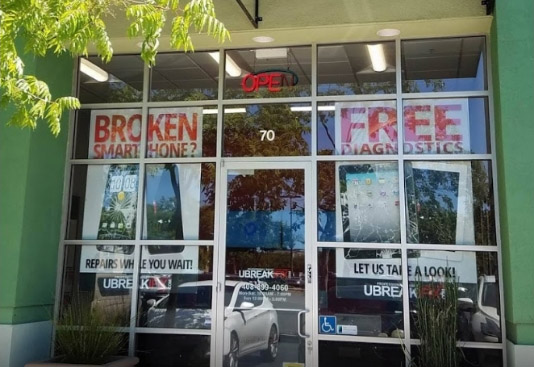
San Jose, CA 95125
Monday - Friday: 10AM-7PM
Saturday: 10AM-7PM
Sunday: 12PM-5PM
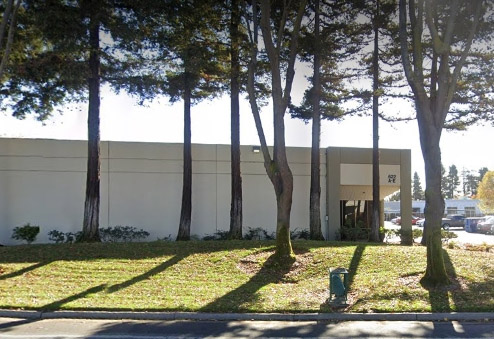
San Jose, CA 95131
Monday - Friday: 7AM - 5PM
Saturday: Closed
Sunday: Closed

San Jose, CA 95131
Monday - Friday: 10AM-6PM
Saturday: Friday: 10AM-6PM
Sunday: Friday: 10AM-6PM
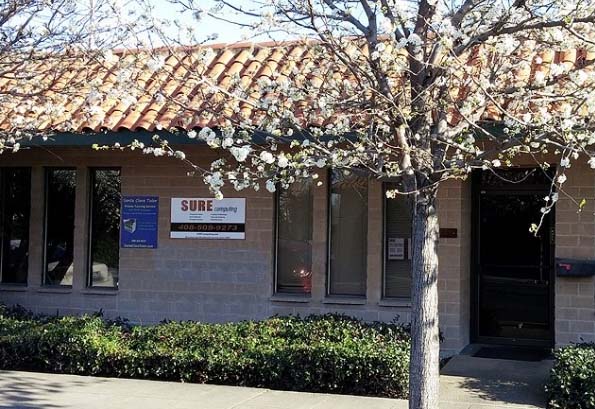
San Jose, CA 95050
Appointment only

San Jose, CA 95119
Monday - Friday: Open 24h
Saturday: Friday: Open 24h
Sunday: Friday: Open 24h
San Jose, CA 95118
Monday - Friday: 8:30AM-5:30PM
Saturday: Friday: 10AM-1PM
Sunday: Friday: Closed
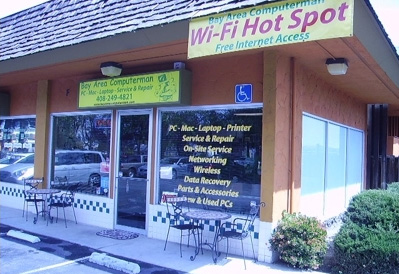
San Jose, CA 95117
Monday - Friday: 9AM-5PM
Saturday: Friday: 9AM-5PM
Sunday: Friday: 9AM-5PM

San Jose, CA 95113
Monday - Friday: 8AM - 5PM
Saturday: Closed
Sunday: Closed

San Jose, CA 95112
Monday - Friday: 8AM-10PM
Saturday: Friday: 9AM-10PM
Sunday: Friday: Closed

San Jose, CA 95113
Monday - Friday: 10AM-6PM
Saturday: Friday: 11AM-5PM
Sunday: Friday: Closed
Find Data Recovery Services Near You on the Map San Jose, CA
Any of the data recovery labs that we’ve listed should be able to help get your data back. But, if you’re having a hard time getting to the store, or if you want to save money, you may want to secure digital recovery software.
The digital alternative can be obtained with the simple click of a download button. We’ll discuss it in more detail below.
Recovery Software for Failed Data
Whether your files have been accidentally deleted through a failed save attempt, they can probably be rescued by data recovery software.
Disk Drill is a recovery software that can be used for both Mac computers and PCs and recovers data from almost all types of storage devices.
After you have downloaded the software, open it as you would open any other application.
In the center of the interface is a pane that includes a column reading “Device/Disk.” Listed here will be all devices in or connected to your machine. If you don’t have the files in this location already, you’ll need to transfer them over or at least connect the device so that Disk Drill can read it. You’ll know it’s ready and available if its name appears in this column.
A gray down-arrow to the left of a device indicates that it has sub-devices that you can select from. Simply click on that arrow to reveal a list of those segmented devices.

Select the device you want to recover files from. To the right are buttons reading “All recovery methods” and “Search for lost data.” We can stick with the default “All recovery methods” for now. With that default option selected, click on the blue “Search for lost data” button.

You will now see Disk Drill reading through the files from your selected location. Remember that it’s looking through not only currently available files, but also all the deleted ones.
You can wait for Disk Drill to complete its scan, or you can click on “Review found items” whenever you want. You can also choose to “Stop scanning” at any time by selecting the top-left button pointed to in the image below.

Now you’ll see the scanned files that are ready to be recovered. Click the checkbox of the ones you want to target. You can do this for individual files or for batches. It’s entirely up to your preference. If you want to recover all the scanned files, select “Recover all”.

You can also narrow the files down to smaller segments by selecting the gray down-arrow and clicking the checkbox to the left of the file. Then, choose the blue “Recover” option.

If you click on any single file, you’ll get an image to the right of the pane. That image will either be a blank thumbnail or a whole, previewed image. If a whole image shows up, the file is almost certainly recoverable. If it’s a blank thumbnail, the chances diminish (but aren’t necessarily zero).
Once your files are recovered, Disk Drill will ask where you’d like to store them. Choose any location you want to save to but note the path so that you know where to find the files. With that done, you can enjoy your recovered files and resume your affairs.
