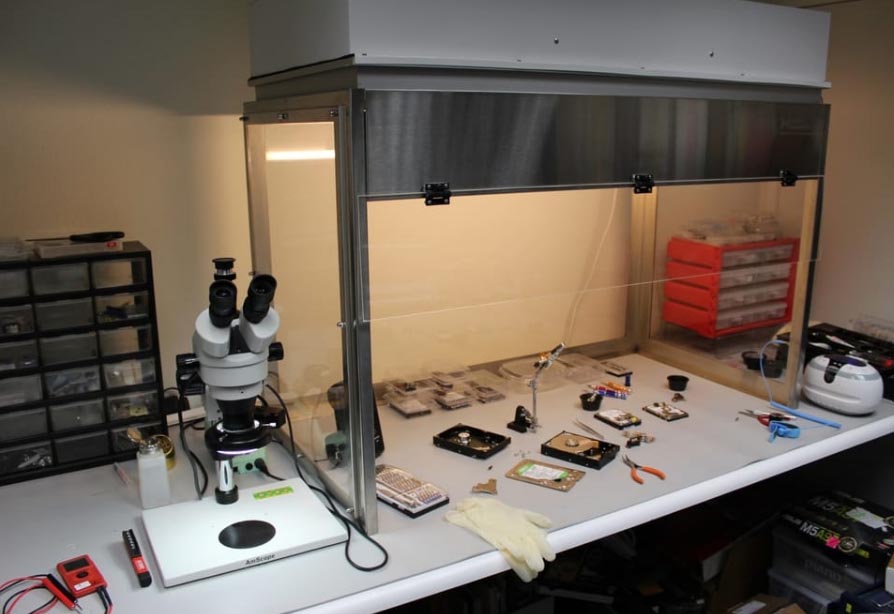
Data recovery services have IT professionals who can help you recover essential data like documents, videos, photographs or any other lost or deleted files.
It’s challenging to find local and credible experts for data recovery from your laptops, smartphones or even external hard drives, SSDs, or memory cards. To help make your search easier, we have compiled a list of data recovery services in Irvine, with their location and contact details.
Specialized Data Recovery Services in Irvine, California

Irvine, CA 92618
Monday-Friday: Open 24h
Saturday: Open 24h
Sunday: Open 24h

Irvine, CA 92618
Monday-Friday: Open 24h
Saturday: Open 24h
Sunday: Open 24h

Irvine, CA 92612
Monday-Friday: Open 24h
Saturday: Open 24h
Sunday: Open 24h

Irvine, CA 92618
Monday-Friday: Open 24h
Saturday: Open 24h
Sunday: Open 24h

Irvine, CA 92618
Monday-Friday: 7AM–7PM
Saturday: 7AM–7PM
Sunday: 7AM–7PM

Irvine, CA 92614
Monday-Friday: 7AM–11PM
Saturday: 7AM–11PM
Sunday: 7AM–11PM

Irvine, CA 92602
Monday-Friday: 5AM–9PM
Saturday: 5AM–9PM
Sunday: 5AM–9PM

Irvine, CA 92618
Monday-Friday: 8AM–5PM
Saturday: 9AM–3PM
Sunday: Closed

Irvine, CA 92618
Monday-Friday: 8AM–6PM
Saturday: Closed
Sunday: Closed

Irvine, CA 92614
Monday-Friday: Open 24h
Saturday: Open 24h
Sunday: Open 24h
Find on the Map of Irvine, CA Data Recovery Services Near You
Exploring Data Recovery Software
Disk Drill was created by a team of professionals at CleverFiles when they saw the need for reliable data recovery software in the market.
Disk Drill is a computer program that lets you retrieve documents that you may have accidentally deleted or if you are having a hard time accessing a micro SD card or an external hard drive. Disk Drill enables you to recover lost files from almost any device, and it works on an iPhone, Mac or Windows computer.
For first-time users of the tool, here is a step-by-step guide for recovering lost data at home.
- Download the setup file.
- Once the download is complete you will see a window that will give you some information about the tool. Click on continue to proceed.

- Before you begin, it will ask you to enable data protection. This is helpful for the successful recovery of lost files. So go ahead, and turn it on.

- Now you are ready to start recovering your missing files. On the left side of the panel, you will see tabs for data recovery, data protection, and drive backup – click on “Data recovery“. Then, pick the device you want to recover the missing items from. You would be able to see all the information concerning the chosen device by clicking on “Info” in the top right corner of the screen.

- Now, from the drop-down menu on the right side of the panel, click on “All recovery methods“, and finally, click on “Search for lost data“.

- Instantly, the software will start scanning your drive for missing files. The recovered files are divided into 5 file categories and the number appearing on top of each icon signifies the number of recovered files. You can click on “Review lost data” to go through the files.

- Select the files you want to recover by clicking on the box adjacent to the name of the file then click on “Recover” at the bottom of the screen. You will also be able to see the number and storage space of the files you are recovering.
 In case you’re on a Mac, check out this guide on recovering data.
 - A pop-up will appear asking you to enter the destination for the recovered files. Once the destination is confirmed, click on ok.
 Pro Tip: The destination of the recovered files should not be stored in the same place as before. This is highly advisable to make sure you do not lose important files again.
Interesting Read: Top 5 Best Free Data Recovery Software in 2023
