Not every flash drive out there can be used with a Mac computer right out of the box. Some flash drives have to be formatted first before you can store files on them. In this article, we are taking a closer look at the Disk Utility, which comes with all recent versions of the Mac OS X operating system, and how you can use it to format a USB drive on a Mac.

Format Flash Drive Mac With Disk Utility
Your Mac computer comes with a handy utility appropriately called Disk Utility, which can be used to format any storage device. To use it:
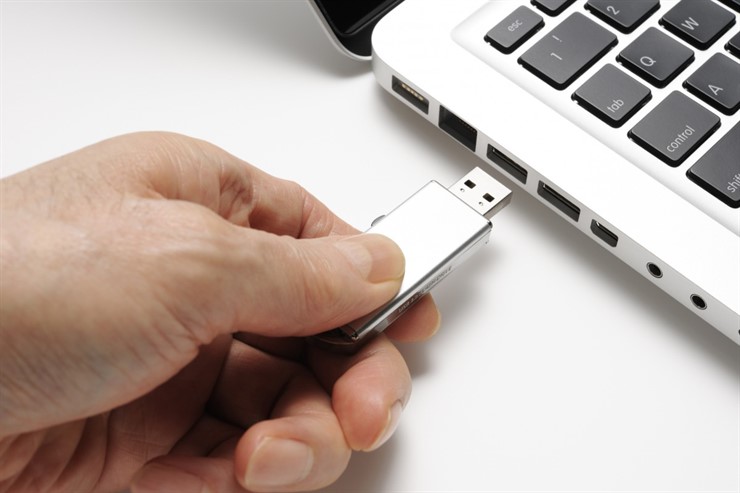
- Connect the flash drive that you want to format.
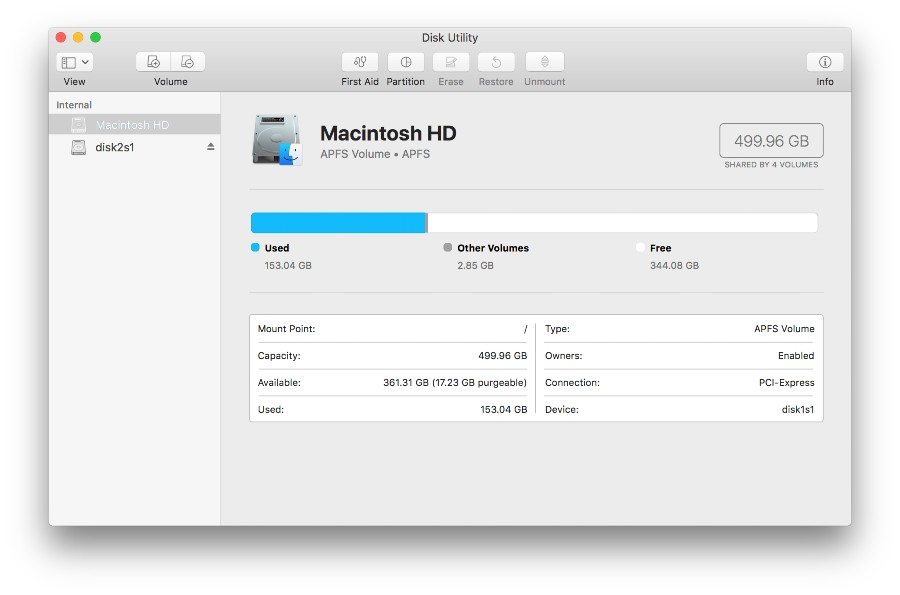
- Go to Applications and Utilities and launch Disk Utility. The application will appear on the screen, and you will see the main window, with a list of available storage devices on the left and various disk management options on the right. At the bottom of the main window are storage device details, including disk description, connection type, USB serial number, total capacity, write status, S.M.A.R.T. status, and partition map scheme.

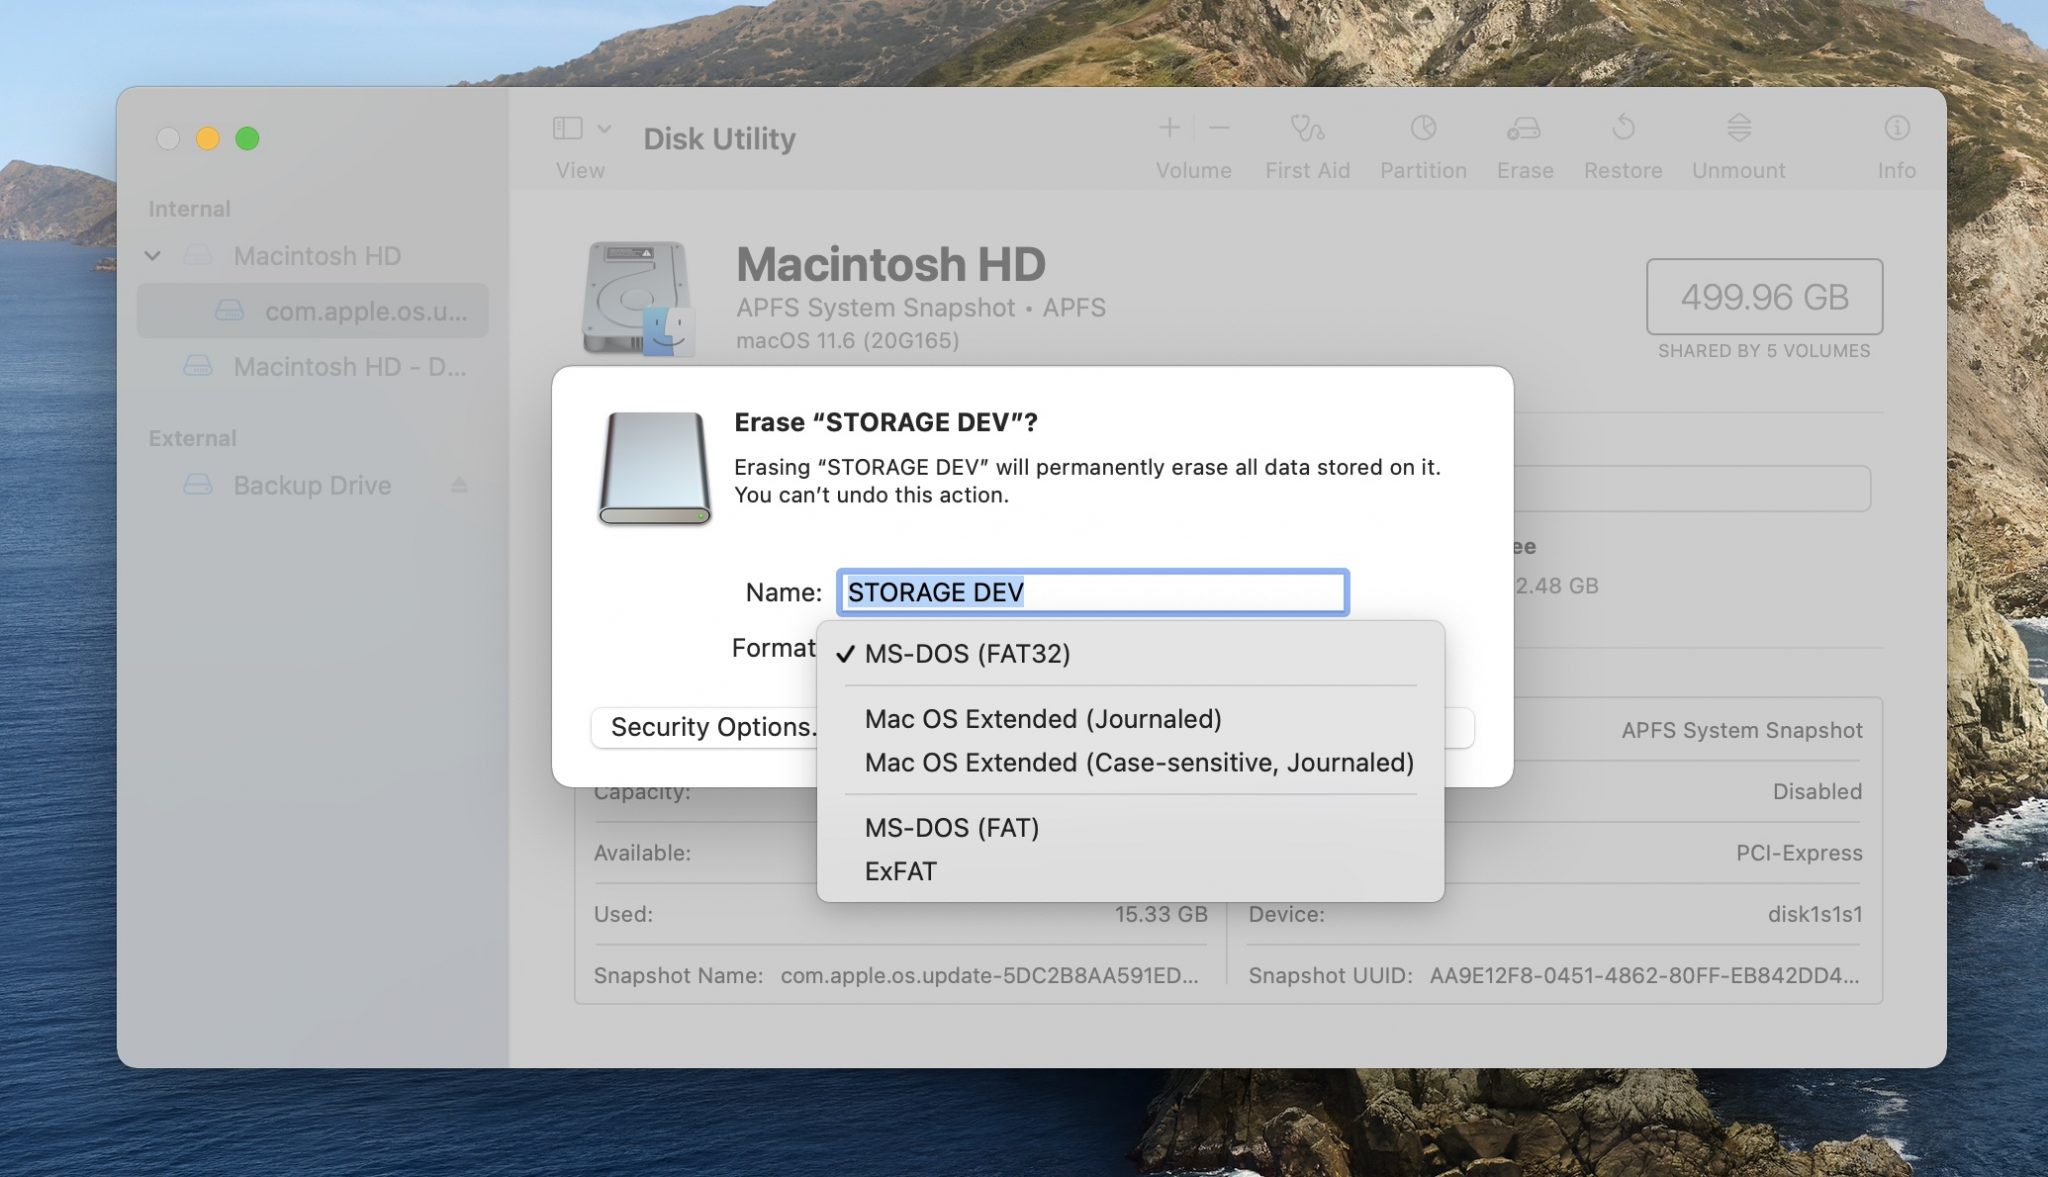
- Select your storage device from the list on the left and click on the Erase tab. Before you can click on the Erase button located in the Erase tab, you must select which file system you would like to use and give it a name. If you’re not sure which option you should choose, continue reading this article to find out more information about the main file systems used by macOS and Windows.

- With everything set, you may click on the Erase button to start the formatting process. Depending on the size and speed of your flash drive, it may take a minute or two. Once the formatting process is finished, you should be able to transfer files to the newly formatted flash drive.
Understanding File Systems
macOS and Windows support different file systems. The main file system of macOS is Apple File System also known as APFS. It was developed by Apple and first introduced in macOS 10.13 as an improved new file system with notable features such as, stronger encryption, space sharing, and fast directory sizing to name a few.
Microsoft has also developed their file system for Windows, NTFS. This proprietary file system was introduced in 1993, and it supports metadata and advanced data structures to improve performance, additional extensions for improved security, and file system journaling.
Unfortunately, these two file systems are not suitable for flash drives because of their limited support. The best file system for modern flash drives is FAT32. Even though FAT32 doesn’t support long file names and only stores files up to 4 GB in size, the fact that it’s almost universally supported across all operating systems makes it perfect for flash drives.
How to Recover Data After Format Using Disk Drill
We all make mistakes, and you wouldn’t be the first person in the world to accidentally format a USB flash drive. Disk Drill, a premium data recovery solution for macOS with support for all popular file formats and common storage devices, is here to help you recover deleted files from your USB flash drive. Disk Drill’s advanced data recovery algorithms can find lost files even after a complete format.
- Download and install Disk Drill onto your Mac.
- Launch Disk Drill and select the USB flash drive that you would like to recover deleted photos from and then click on Search for lost data. In this article, we’re taking a look at how to recover data from a USB flash drive but you can choose any storage device that you would like.

- Wait for the scan process to complete.

- Review what Disk Drill was able to recover.
- Select the files that you would like to recover from your USB flash drive.
- Click on the blue Recover button and then you can recover the deleted files that were on your USB flash drive.

That’s it! You can see what recovering with Disk Drill is super easy. Let’s talk about what we can do in the future with our USB flash drive to ensure that the data on it is protected and safe.
Back Up Before Formatting a USB Drive
Before formatting a USB device that may contain important data, it is a critical safety step to back it up. You can accomplish this in several different ways depending on the amount of data on the device and the space available on your Mac.
💽 Back Up to Your Internal Drive
If you are using a small USB device and have enough space on your Mac’s internal disk, this might be the best way to back it up before formatting. Just connect the device to your Mac, create a new folder on your internal drive, and copy the data from the device to the folder.
💾 Back Up to Another USB Device
If you don’t have enough room to back up the drive internally, you can use a second USB device as the backup target. In some cases, you may need to use a USB hub if you don’t have enough free ports to perform the operation. Simply connect the two devices and copy the files from the source to the target device.
☁️ Back Up to the Cloud
You can quickly and easily obtain as much storage space as you need in the cloud. This allows you to use the cloud to backup your USB drive if you don’t have room on your Mac or another USB storage device available. The process will be similar to any cloud backup service. Just get an account and sign up for the amount of storage you need. Then connect the USB to your computer and transfer its data over your network to the cloud. I would personally recommend that you use Apple’s iCloud feature as it works seamlessly with your Mac.
How to Format a USB Drive to FAT32 on a Mac
Use the following steps to use your Mac to format a USB drive to FAT32.
- Back up the USB device before proceeding with this process.
- Connect the USB device to your Mac or MacBook.
- Open Applications > Utilities > Disk Utility.
- Select the drive and click Erase.
- Name the device if you wish.
- Open the Format dropdown menu and select MS-DOS (FAT).

- Click Erase and wait for the process to complete.
Preventing Data Loss on Your USB Devices
Following are several suggestions for methods that help you prevent data loss on your USB devices.
🗄️ Back Up Your USB Devices Regularly – We cannot stress the importance of backups enough. If you’re not doing it, get started as soon as possible. The time and expense of making a backup will seem minor when your backup saves you from a data loss scenario. Nobody ever thinks that data loss is going to happen to them until it does happen.
🏷️ Label Your Devices – Putting a label on your devices is a simple and effective way of knowing what’s on them and avoiding inadvertently formatting the wrong drive. Get in the habit of labeling drives when you format them or add a name or change the name of an existing device.
🦠 Avoid Viruses and Malware – Always run updated antivirus software on your Mac to keep it free of malware. Also, try to avoid connecting your USB devices to any other computer that you cannot verify as being free from viruses and malware.
🛡️ Keep It Secure – USB drives are portable by nature and can easily be lost or stolen. Make sure you always know where your device is and who may have access to it to make sure it comes home with you at the end of the day.
⛅ Avoid Extreme Environmental Conditions – Too much heat, moisture, or humidity can damage your USB drive and make it very difficult to recover its data. Keep your devices in a dry, cool place, and never leave them in direct sunlight.
Conclusion
Knowing how to format a USB flash drive is a useful skill to know just in case you purchase a new one and need to put it into a new file format or want to erase one and get rid of the data that is on it.
The procedure for formatting a USB Flash Drive can also be used for an external hard drive or any other storage device that you plug into your Mac. Taking it a step further, knowing how to recover files off of the SD card is helpful as well in case you deleted files that you then realized that you didn’t want to delete.
FAQ
It’s actually quite easy to format a USB drive on a Mac.
- Plug the USB flash drive into your Mac.
- Launch Disk Utility.
- Select the USB flash drive from the list of devices.
- Click on Erase and then choose what format you would like to format the USB flash drive to.
This process can be used for any external storage device that you plug into your Mac.
If you’re only going to use the flash drive on a Mac, then I would recommend that you use Apple’s Mac OS Extended. If you want to use it on both Mac and Windows, then you should format the USB Flash drive to FAT32 so that you can use it on both operating systems.
Yes it can. Mac’s can read
- Apple File System (APFS)
- HFS+
- NTFS
- FAT32
- exFAT
- ext2
This is actually quite easy to do. We just need to format the USB flash drive into the FAT32 format.
- Plug your USB flash drive into your Mac.
- Launch Disk Utility.
- Select the USB flash drive from the list of devices.
- Click on Erase and then choose the FAT32 format.
The best format that works on both Mac and windows would be FAT32 and you could also use exFAT.

