If you’ve lost a DPX file and want to restore it, you’re at the right place. We’ve compiled multiple actionable methods to facilitate a speedy recovery.
What is the DPX File Type?
DPX or Digital Pictures Exchange is a file format that Kodak created to store and transfer images files. It is part of a file type that is called a raster. These types of files can store high-quality images. As mentioned, Kodak first made DPX in 1994 to scan film. The file itself may contain a single frame but is exported as a sequence with a series of still images. DPX was later adopted by the Society of Motion Picture and Television Engineers (SMPTE), which is a member of the American National Standards Institute (ANSI).
Files having a DPX extension are similar to the CIN files that they were based on and which they later on succeeded.
The DPX is preferred because of its ability to store color information. These files are particularly useful in the post-production phase, where you can use software to grade them as per your production’s requirement.
As one may recognize from the description, DPX files are primarily used in the film industry. Coming to the technical description of the DPX file, like any other file format, DPX files are divided into four different parts. For example, the motion picture header is one such part. They hold details such as shutter angle, sequence frequency, frame identification, frame rate, etc. Another part is the image data. They contain the information of the image in terms of pixel data.
The image data part contains the proper image in pixel data. The color values for each pixel are often stored logarithmically. In this case, the file must contain a table to transform the logarithmic values into their real counterparts. DPX images usually come as 10bit Logarithmic RGB image sequences from a film scanner.
How to Recover Deleted DPX Files?
Whether it is an accidental loss or a system error, data loss situations are never easy to deal with. Therefore, it is always important to take precautionary steps to avoid them. While the methods given in the following sections will help you recover your deleted file, here are some tips on how to avoid common mistakes that lead to file loss:
- ❌ Avoid making changes or adding data to the storage device that previously stored the files you want to recover.
- 💾 Have more than one backup for the files that you are working on. In case of an error, having multiple backups will increase your chances of restoring the file.
- ⌛ Always make sure that you start the data recovery process (by following any of the methods given below) at the earliest.
- 💯 Beginning with the most reliable method to recover data is very important. Using software such as Disk Drill can prove to be beneficial in this regard.
- 🛡️ Install a good antivirus to keep your system and files safe.
How to Recover DPX Files with Software?
Software such as Disk Drill can be your perfect partner in your hopes of restoring a deleted or a file that you forgot to save.
You can use the software to back up your data into any device or drive of your choosing. Disk Drill is available for free download and can be used on Windows and Apple-owned Mac.
Follow the steps given below to use Disk Drill to recover your DPX File:
- Download and Install Disk Drill on your system. Follow the instructions to complete the process.
- Open Disk Drill and choose the storage device which previously had the missing file. Now, select Search for Lost Data.

- You can choose to use Quick Scan or Deep Scan as per your requirements. The former is used to find recently deleted files, and the latter can be used for thorough searches.
⭐ Pro Tip: the default all recovery methods option employs the best-in-class algorithms for a comprehensive file hunt. - Click on Stop scanning to resume the session later or analyze the results of the search side by side. The results get saved if you choose to resume later.

- A list of files is shown once the scan is completed. You can further narrow these results by using filters like date or size. Select the files you want to retrieve and click on Recover.

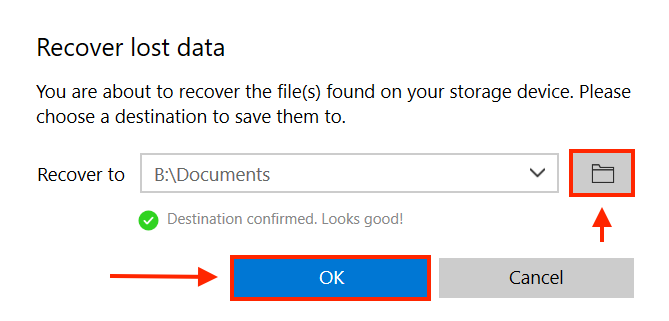
- After selecting the file you want to restore, you can also choose the location where you want the file to get restored.

As you can see, software such as Disk Drill can make the process of data recovery relatively easy. Further features are available for you to secure your data.
Recover DPX Files from Windows Recycle Bin and Mac Trash
By using Recycle Bin in Windows and Trash on Mac, you can quickly restore temporarily deleted files and send them back to their original location.
Recovering DPX Files from Windows Recycle Bin
Following are the steps to recover deleted DPX files from Windows recycle bin:
- Double click on Recycle bin on your desktop. You will usually find the icon on the top left corner of your screen by default.
- Once the folder is open, select the DPX files that you wish to recover from the list of files that are available to you.
- Right-click on the file you want to get back. Use the Restore option to retrieve the file. This will move the file to its original folder.

Recovering DPX Files from Mac Trash
Following are the steps to recover deleted DPX files from Mac Trash:
- Open Trash from the dock of your Mac.

- Choose the DPX files that you wish to recover from the list of files available to you. Now, you can drag the files to the folder that you want to restore the files to in your system.
OR
You can select an individual file and execute the PUT BACK command. This will move the file to the location it was previously stored in.

Restore from a Recent Files Folder
The option to use built-in backup options known as File History and Mac Time Machine are available respectively in Windows and Mac. Both of them are available to help you recover a disappeared file that is not stored in the Recycle bin or Mac Trash. These may include files that are damaged unintentionally or in situations such as not being able to use storage devices that store the files that you want or those which are lost while making some changes to the file.
In the next few sections, you can find the steps to recover deleted DPX files from Windows File History or Mac Time Machine:
Recovering DPX Files using Windows File History:
- Search for File History and open up the relevant control panel instance.

- Ensure that the file history option is turned on. You can do this by selecting an external or internal storage device as your backup option.
- Now, click on the Restore personal files option.

- Choose the DPX file that you wish to recover from the list of available files.
- Once you have selected the file, click on the green recover button at the bottom of the screen. This will send the file back to its original location.

Recovering DPX Files using Mac Time Machine:
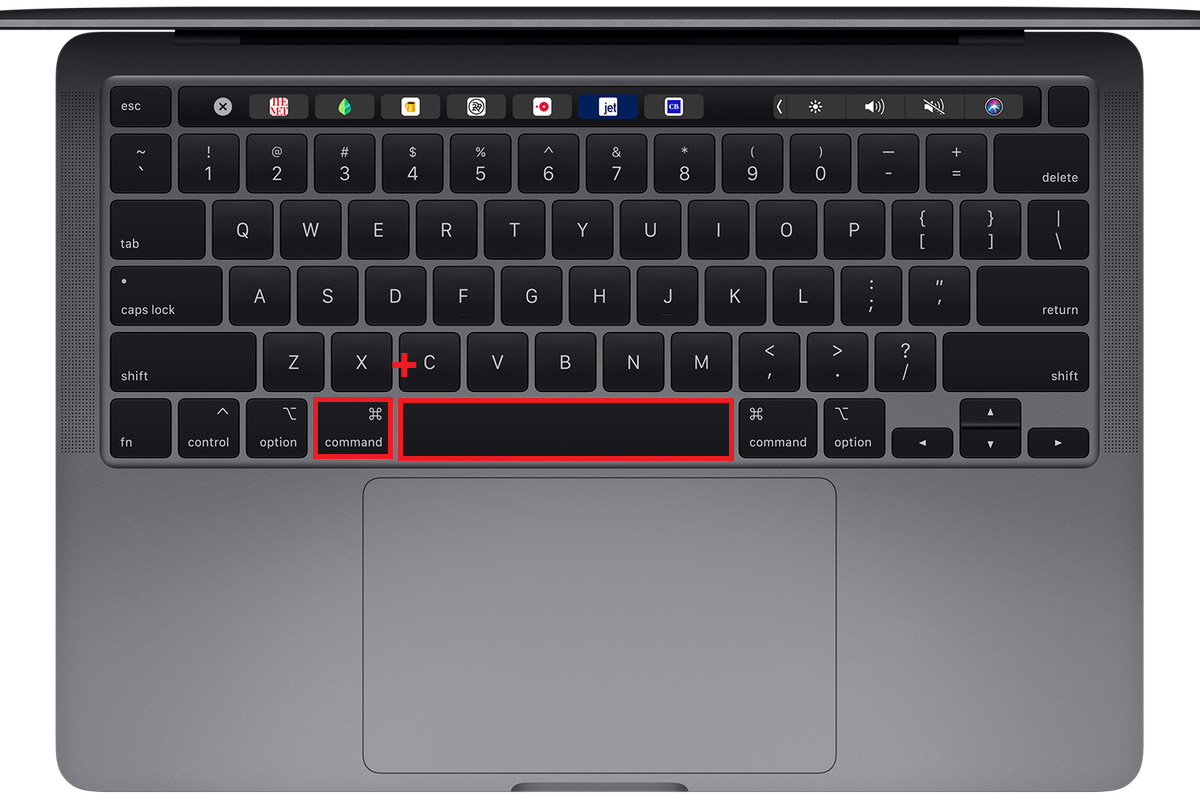
Open Spotlight (Command key + Space bar) and type ‘Time Machine.’

OR
On the menu bar, choose Enter Time Machine.
- From the list of available backups, choose the DPX file you want to restore.

- After selecting the file, click Restore.
How to Open DPX Files on Mac and In Windows
Adobe After Effects is an app that users can use to open and work on DPX files. The application can be used to make color adjustments, animation, edit/ animate titles, and much more. To open a DPX file using Adobe After Effects, follow the steps given below:
- Place all the files you want to use in your stream in the same folder.
- Open the Adobe After Effects program.
- From the Menu bar, select File. Then go to Import and then click on File.
- Select the first image you want.
- Select Import as a sequence; The files will be imported as a stream.
- You can also choose to import individual files. While doing so, do not select the option of Import as a sequence.
Programs that Open DPX Files
The following programs can be used to run a DPX File:
Windows:
- Adobe Premiere Pro
- Adobe After Effects
- Adobe Photoshop
- XnViewMP
Mac:
- Adobe Premiere Pro
- Adobe After Effects
- Adobe Photoshop
- XnViewMP
- Apple Final Cut Pro X
- Autodesk Smoke 2017
- Lemkesoft GraphicConverter
