Disk Drill stores scanning session files locally on your system drive, whether you’re using Windows or macOS. You can remove any of these auto-saved files manually. There are two ways to do this, so let’s walk through each one.
Method 1: Remove Recovery Sessions Using Disk Drill’s Built-In Interface
The latest versions of Disk Drill let you remove saved sessions directly from the app. At CleverFiles, we’re always working to make our products simpler and more user-friendly with each update. Here’s how to remove session files:
- Launch Disk Drill. These steps are the same for both the Windows and macOS versions.
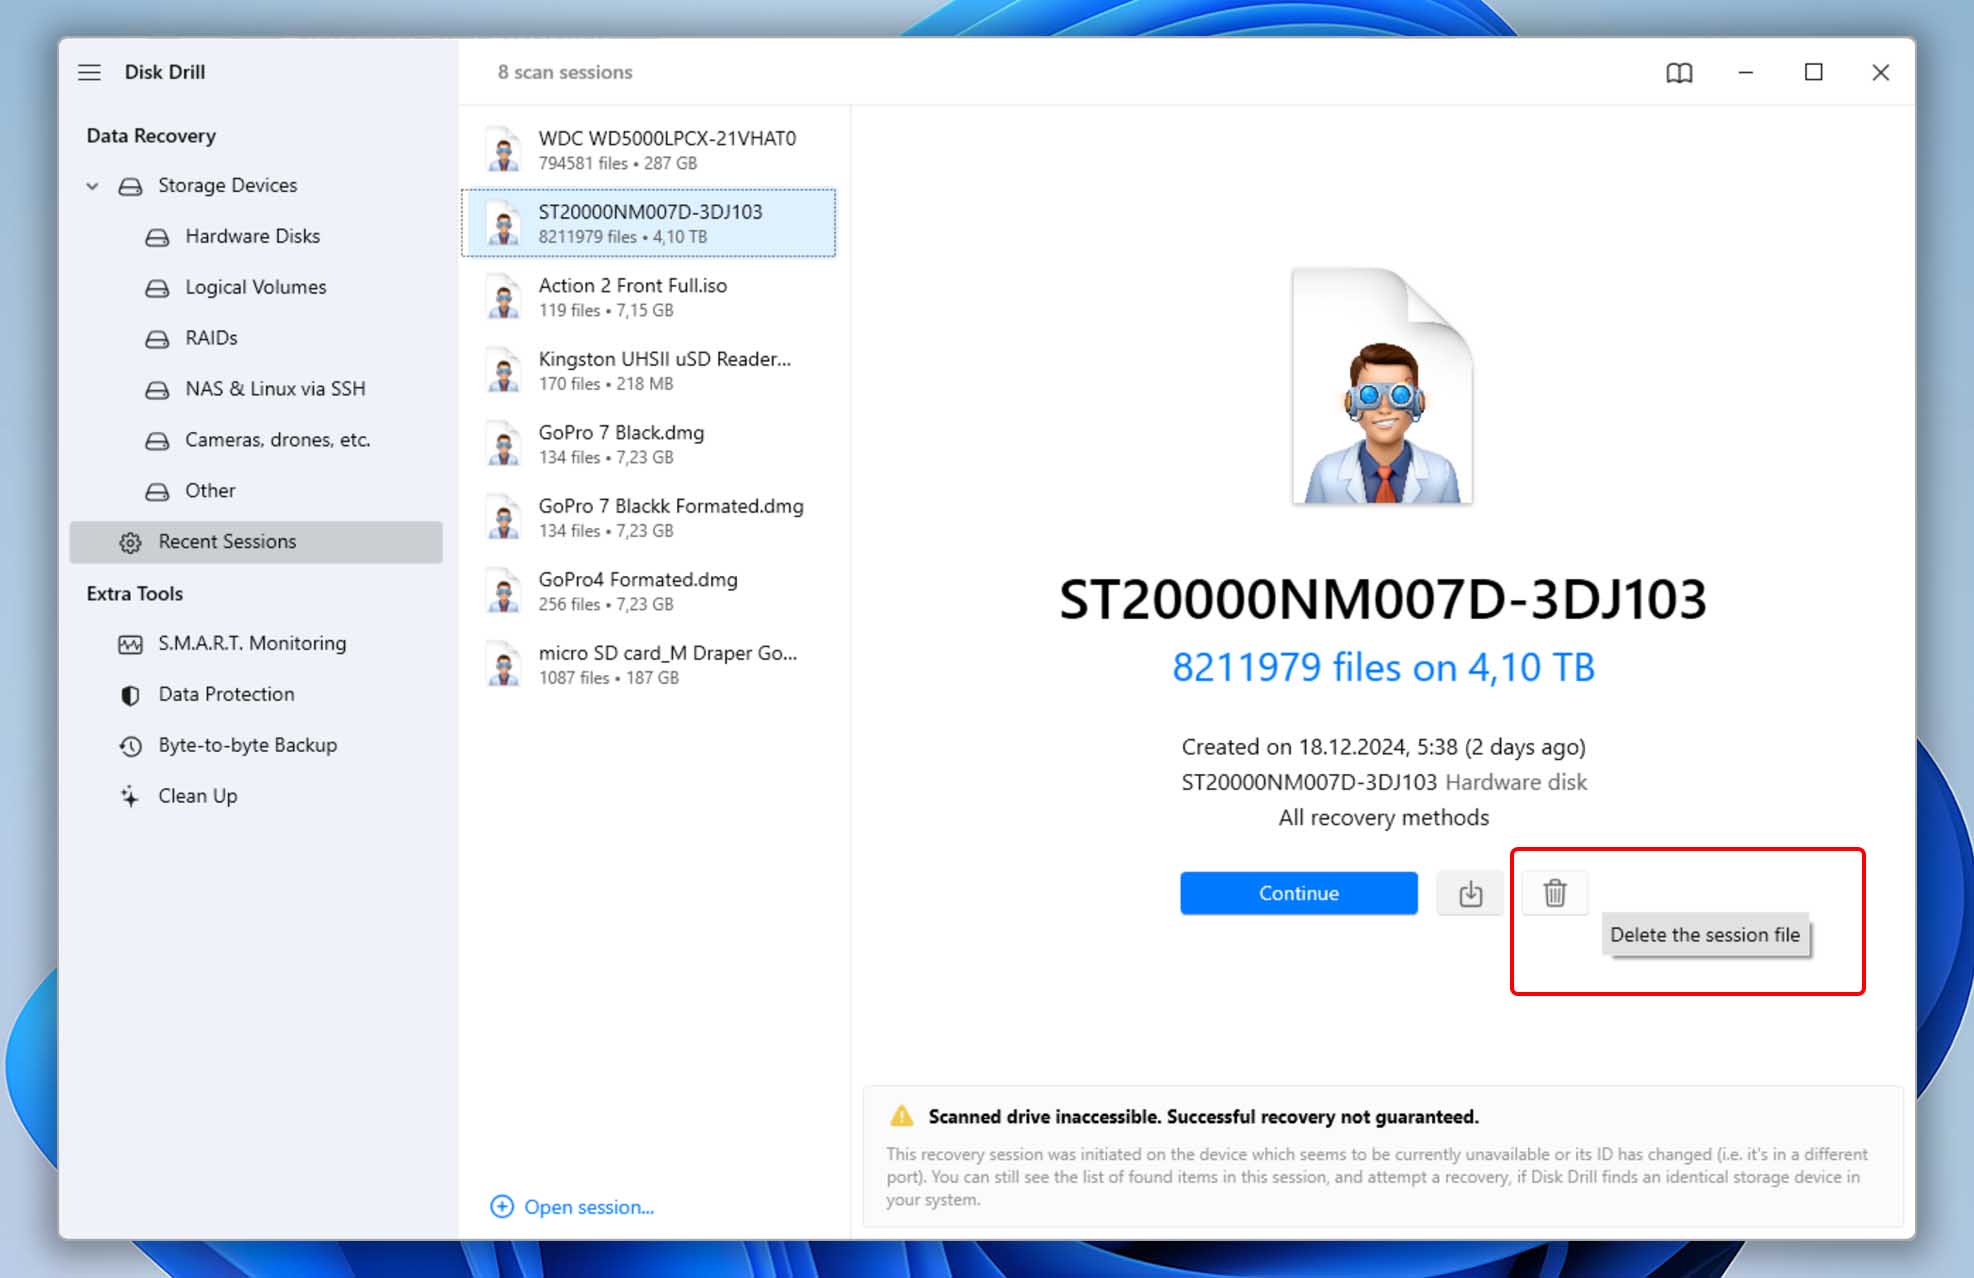
- In the “Data Recovery” section on the left panel, click on the “Recent Sessions” module.
- Select the session file you want to remove and click the Trash icon.
- Repeat these steps for any other saved session files you want to delete.
Method 2: Manually Remove Recovery Sessions Using Finder or File Explorer
In both macOS and Windows, you can access Disk Drill’s application data folder, where all session files are stored. The exact location of this folder differs depending on which operating system you’re using. We’ll walk you through both.
Recovery Sessions Folder Location in macOS 🍏
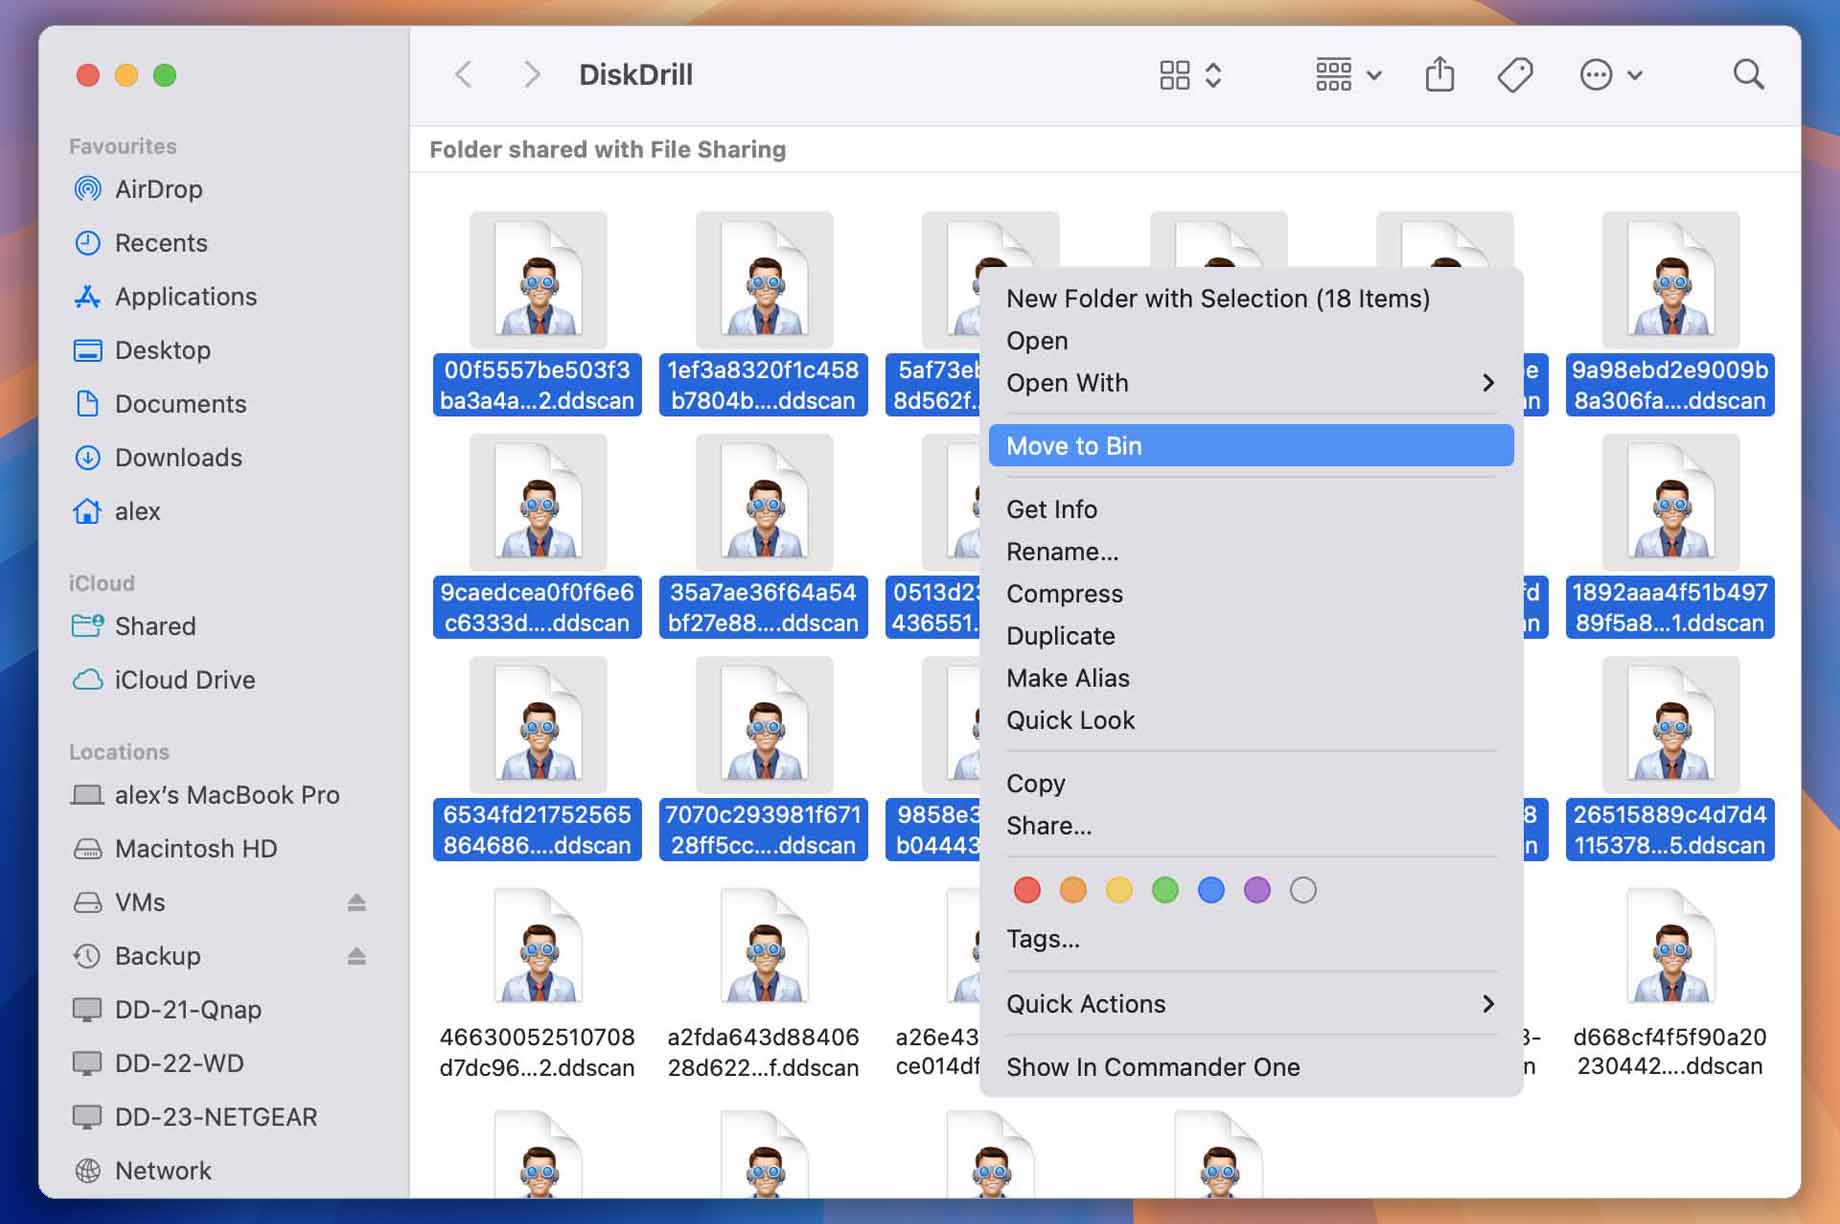
Like most macOS applications, Disk Drill stores its files in the “Application Support” folder. This folder is unique to each user profile. You can remove the auto-saved sessions by following these steps:
- Close Disk Drill;
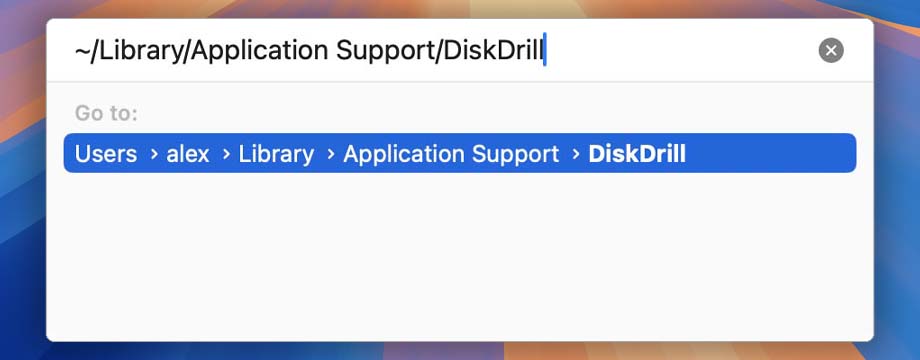
- Open Finder and press Command + Shift + G;
- Type the following path (or use our copy button) to open the folder containing the auto-saved sessions:
➡️ ~/Library/Application Support/DiskDrill
- Remove unwanted auto-saves.

Recovery Sessions Folder Location in Windows 🪟
Windows applications also store their system files in a dedicated folder, just like on macOS. This folder is called “AppData” and is unique to each user profile. It’s further divided into two subfolders: “Local” and “Roaming.” Let’s walk through how to find and remove Disk Drill’s auto-saved sessions:
- Close Disk Drill;
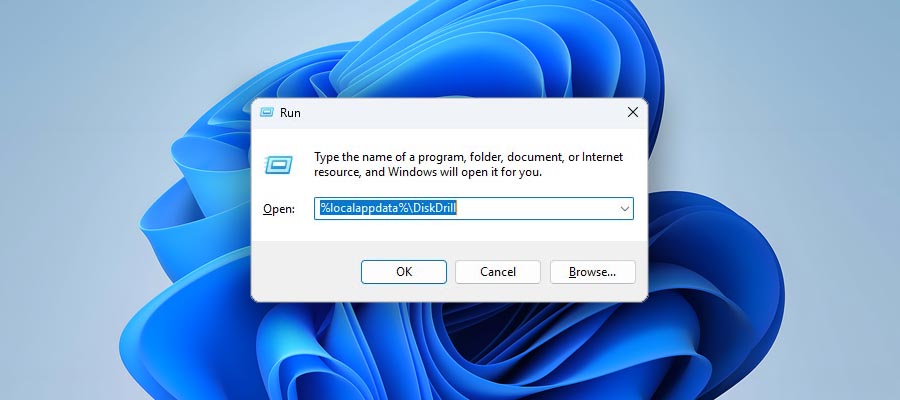
- Press Win + R to open the Run dialog box, then type the following text (you can use our copy button for convenience):
➡️ %localappdata%\DiskDrill
- Remove unwanted recovery sessions.


